Step 10 — Define a site boundary
Goal
Mark out the study area you actually care about.
Background
Everything so far has been exploration. A site is a saved study area — define the boundary once and every view, statistic and target is computed for it from then on.
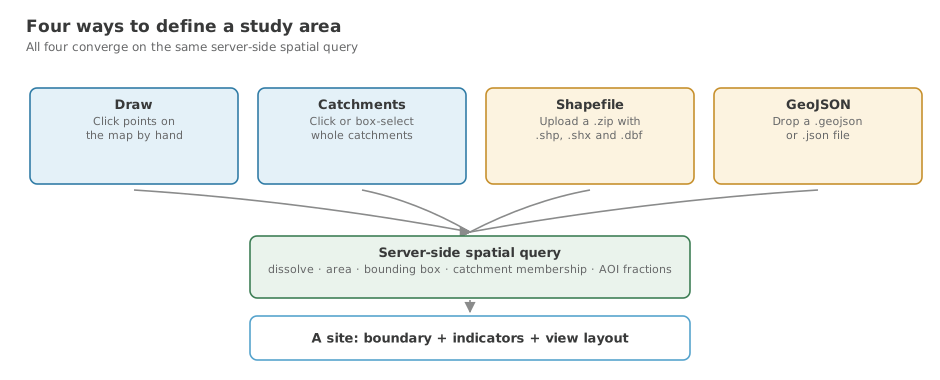
There are four ways to define one. They all end at the same place: the server works out which catchments fall inside and by how much.
Steps
- Click My Sites in the header, then Create New Site.
- Choose a Method:
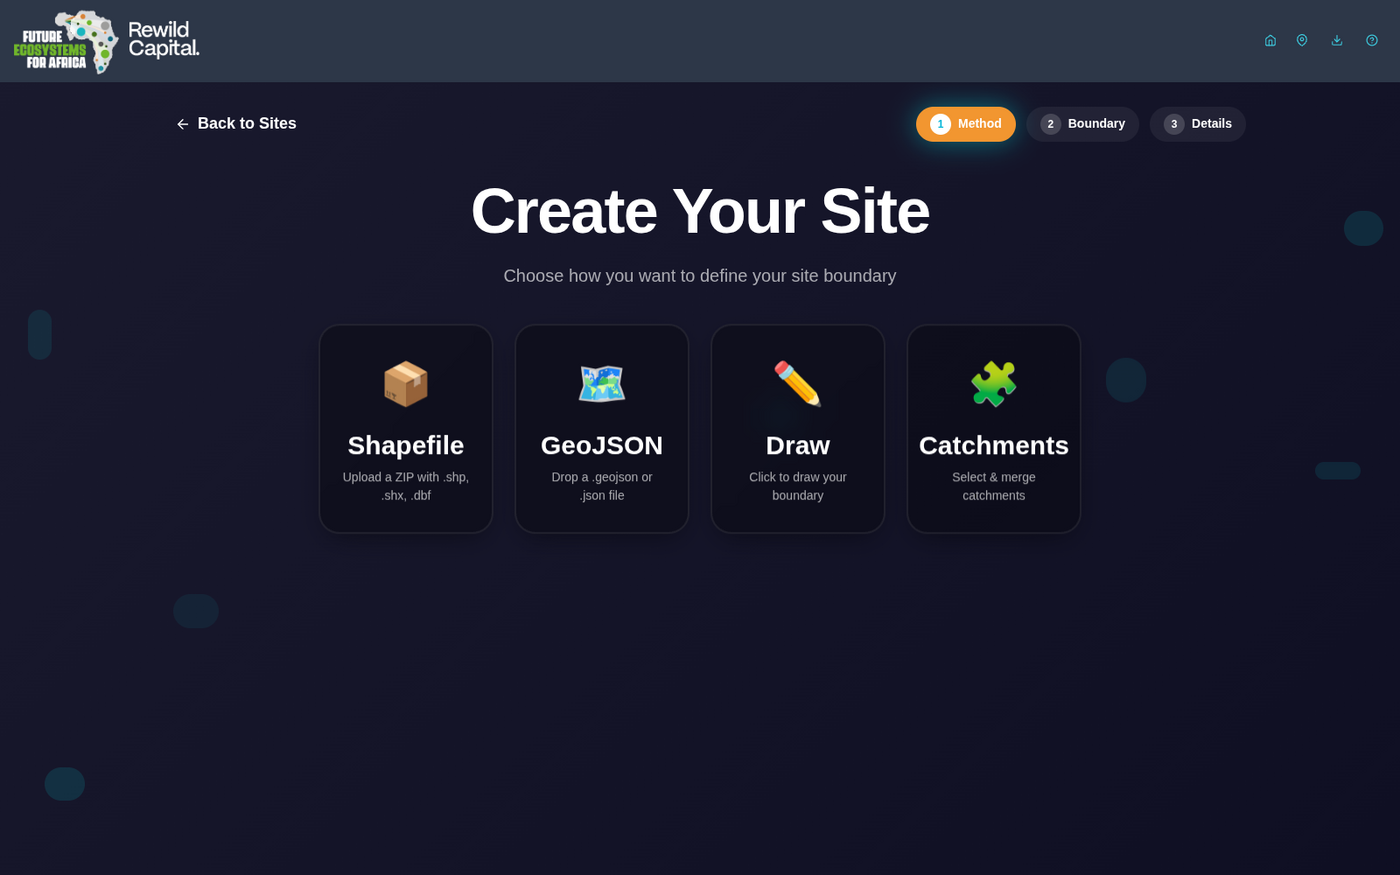
| Method | Use when |
|---|---|
| Draw | You want to sketch an area by hand |
| Catchments | Your area follows catchment boundaries |
| Shapefile | You have a .zip containing .shp, .shx and .dbf |
| GeoJSON | You have a .geojson or .json file |
-
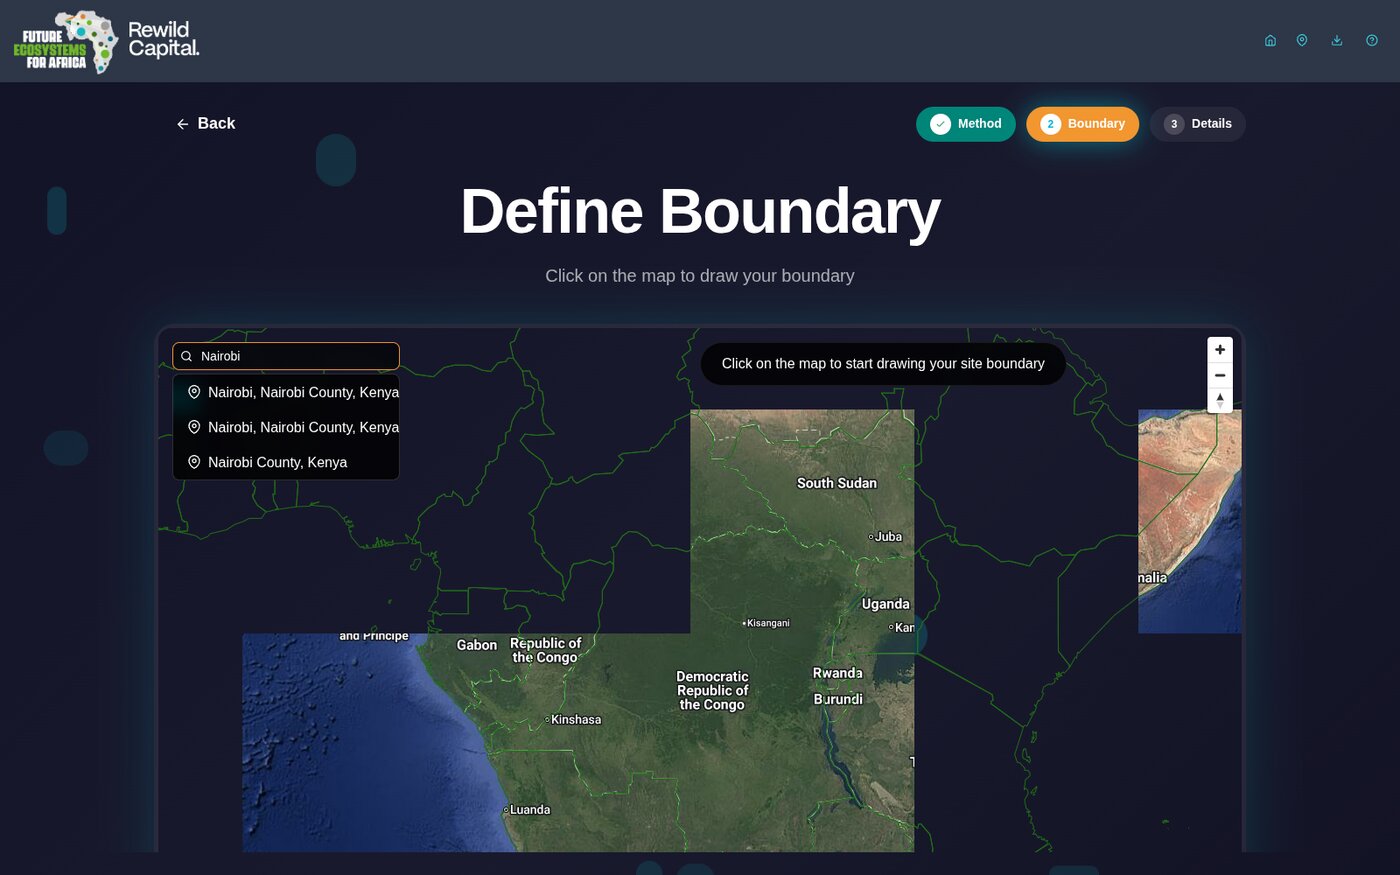
Define the boundary on the map.
- Draw — click at least three points. Undo and Clear are bottom-left.
- Catchments — click catchments to toggle them, or use Box Select to drag a rectangle. Zoom in until catchment boundaries are visible first.
- Shapefile / GeoJSON — upload, then review the parsed boundary.
-
Use the location search (top-left, three characters minimum) to fly to a place first if you need to find your area. Results combine a bundled gazetteer of major African cities with live lookups for smaller towns.
- Click Confirm Boundary — or Create Boundary for the Catchments method. A map thumbnail is captured automatically at this point.
The satellite basemap helps
The globe icon switches to satellite imagery, which makes it much easier to see what you are drawing around.
What you achieved
- You have chosen a boundary method
- You have defined a boundary on the map
- A thumbnail has been captured automatically