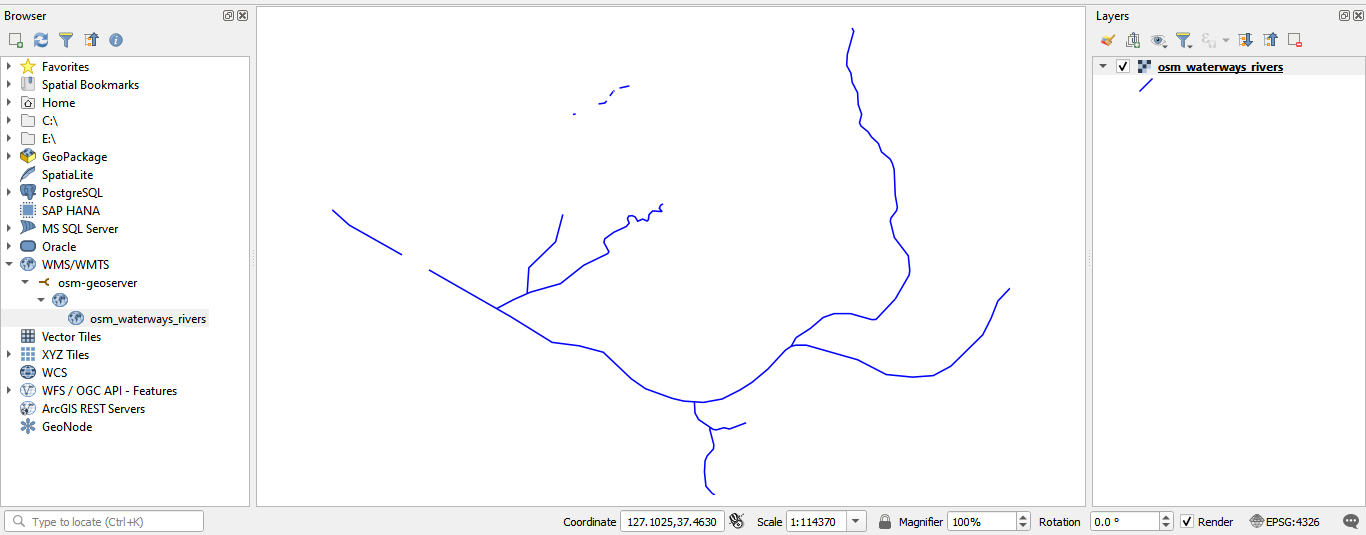
Publishing layers using GeoServer
In this workflow, you will publish the osm_waterways_rivers OpenStreetMap layer in the osm schema of the Postgres service gis database.
Deploying the OSM Mirror service
Prepare the Country PBF file and the clip area document
The PBF files for the country or region of interest can be obtained from GeoFabrik. The PBF file used in this workflow was for South Korea and the URL is https://download.geofabrik.de/asia/south-korea-latest.osm.pbf.
The clip area constrains any data being imported into the PostGIS database to a specific geographic area. You will need to save the clip area document as conf/osm_conf/clip.geojson. For best performance, a simple rectangle is best, but any complex polygon can be used. The CRS of the geojson should always be EPSG:4326.
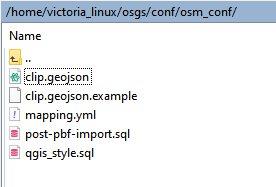
You can easily create such a clip document at https://geojson.io or by using QGIS. For this workflow the clip area document for Seoul, South Korea, was downloaded from the southkorea/seoul-maps repository.
Deploy the initial stack
In your server terminal, deploy the initial stack by running either make configure-ssl-self-signed or make configure-letsencrypt-ssl. The initial stack consists of the Nginx, Hugo Watcher and Watchtower services.
Use make configure-ssl-self-signed if you are going to use a self-signed certificate on a localhost for testing. Use make configure-letsencrypt-ssl if you are going to use a Let’s Encrypt signed certificate on a name host for production. The make configure-ssl-self-signed will deploy the Nginx, Hugo Watcher and Watchtower services, but after running make configure-letsencrypt-ssl you will need to run make deploy-hugo to deploy the Nginx, Hugo Watcher and Watchtower services.
Use make ps to view the services running. The following services should be up:

Deploy the PostgreSQL and PostGIS service
Deploy the PostgreSQL and PostGIS service using make deploy-postgres. If you already have PostgreSQL installed on your local machine, ensure that you specify a different port number for the Postgis Public Port other than port 5432, the default port for PostgreSQL. For example, you can use the port number 5434.

Use make ps to view the services running. The following services should be up:

To view the PostgreSQL and PostGIS service databases, create a psql shell in the gis database using make db-psql-shell then use the meta command \l to list all the databases.

Deploy the OSM mirror service
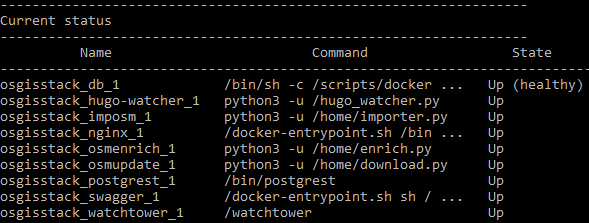
Deploy the OSM mirror service using make deploy-osm-mirror and follow the subsequent prompts. Use make ps to view the services running. The following services should be up:
You can view the logs for the OSM mirror service using the command make osm-mirror-logs.
Deploying the GeoServer service
Deploy the GeoServer service using make deploy-geoserver. The service is now accessible on /geoserver/ e.g. https://localhost/geoserver/. Use the <GEOSERVER_ADMIN_USER> and <GEOSERVER_ADMIN_PASSWORD> specified in the .env file to sign into GeoServer.
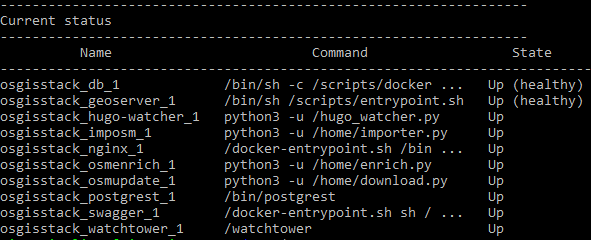
Use make ps to view the services running. The following services should be up:
You can view the logs for the GeoServer service using make geoserver-logs.
Publishing Layers with GeoServer
Create a new workspace
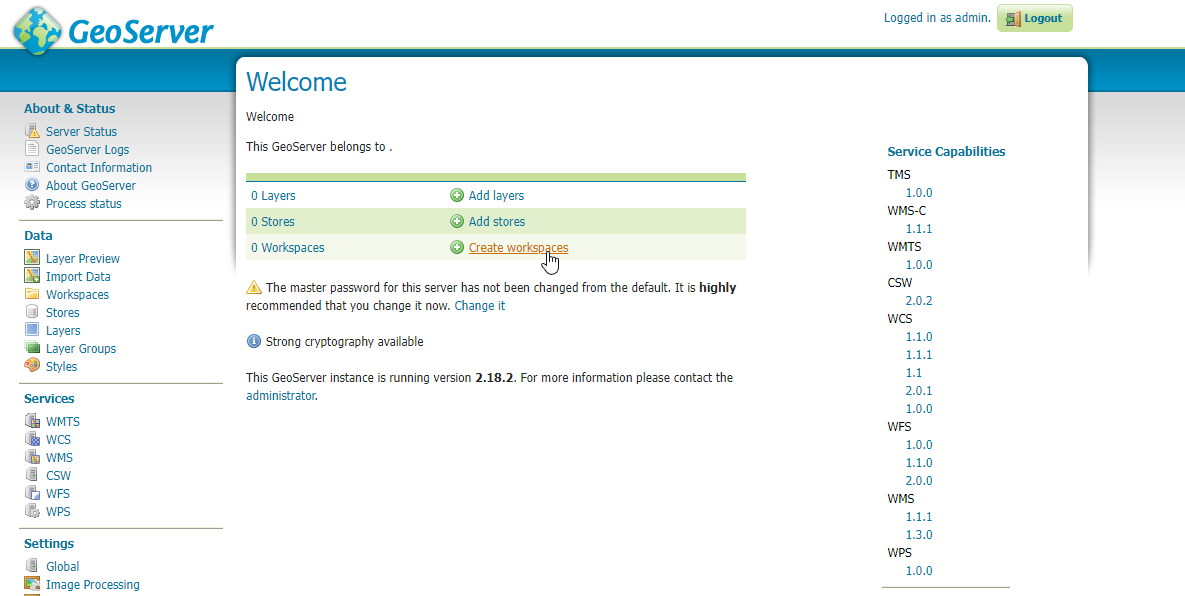
After signing in, there will be 3 options on the Welcome webpage: “Add layers”, “Add stores”, or “Create workspaces”. Click on “Create Workspaces”.
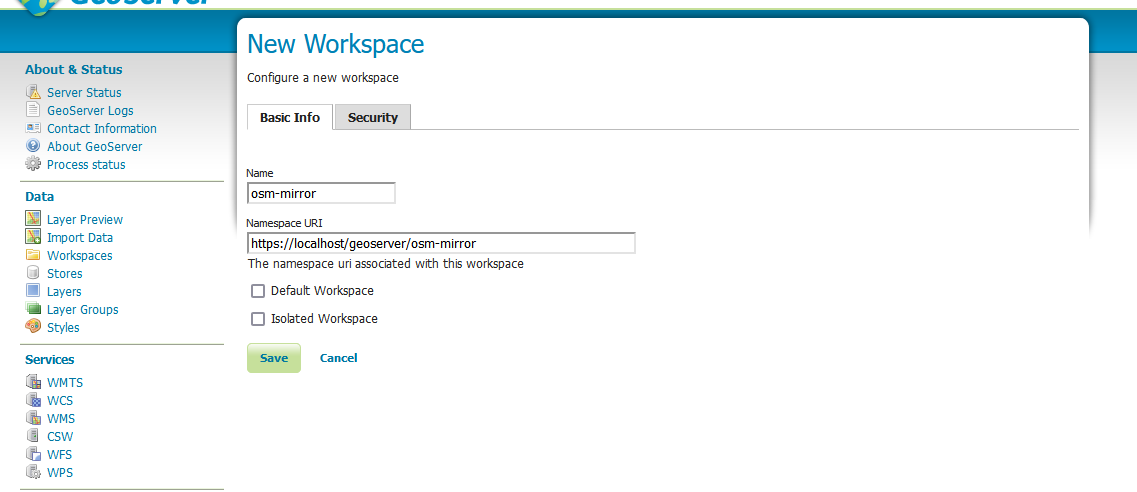
Name the new workspace osm-mirror. For the Namespace URI, use the format https://<server>/geoserver/osm-mirror/ with the server parameter being the hostname of the server where you set up OSGS.
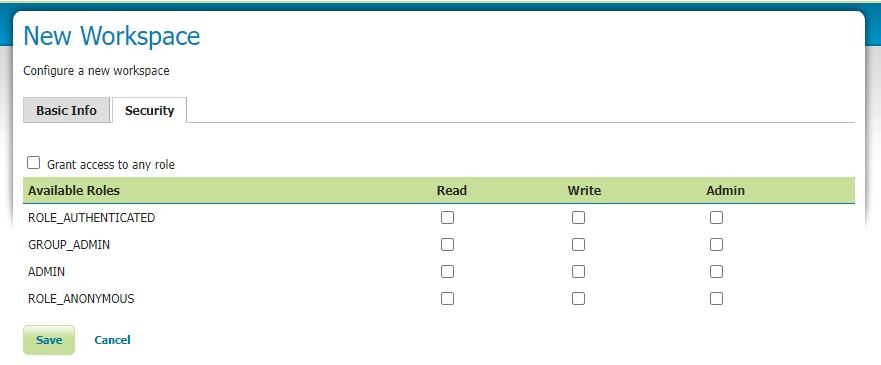
Check/uncheck checkboxes in the Security tab to set data access rules at the workspace level as required.
Once you are done defining your new workspace, click “Save”.
Create a new data store
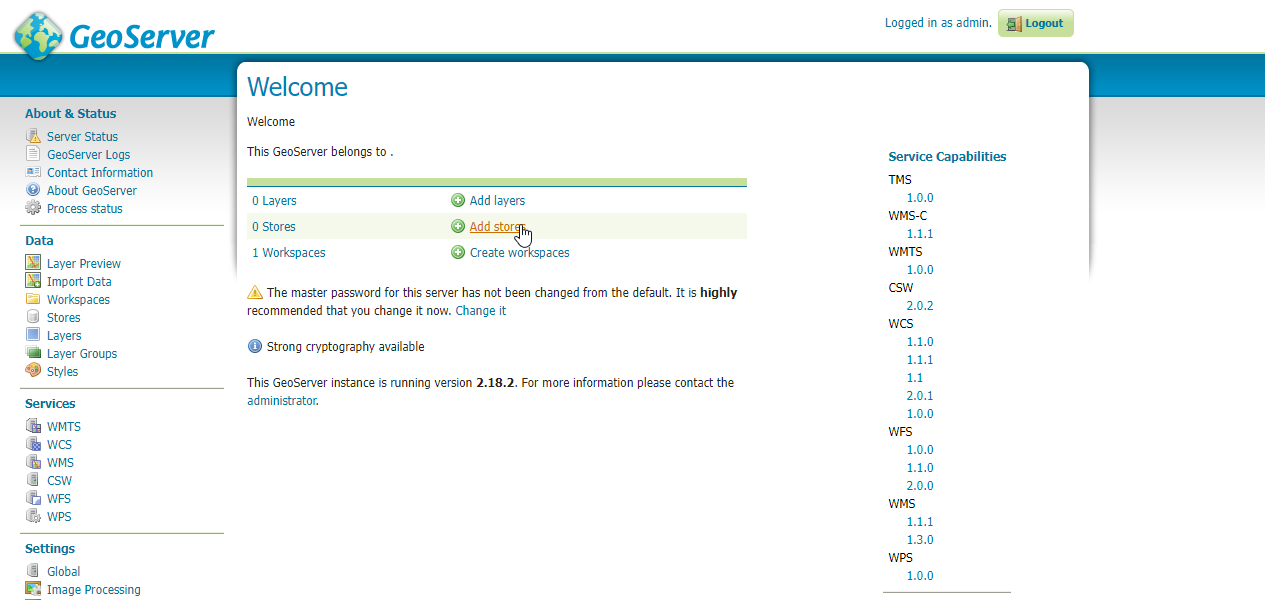
Return to the Welcome page and click on the plus icon with “Add store” next to it.
In the Vector Data Sources category, select “PostGIS - PostGIS Database”.
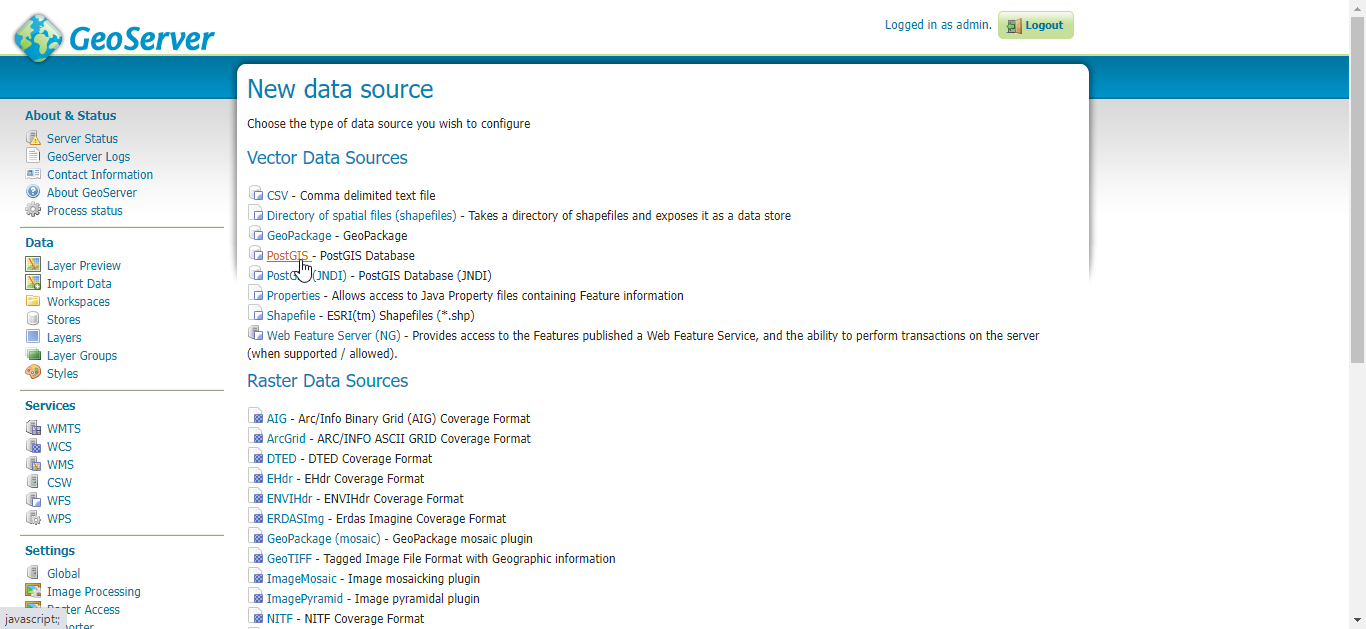
In GeoServer, every PostGIS store must be connected with just one schema. In this workflow, you will publish the osm_waterways_rivers layer which is in the osm schema hence you will create a vector data store in the osm-mirror workspace connected to the osm schema.
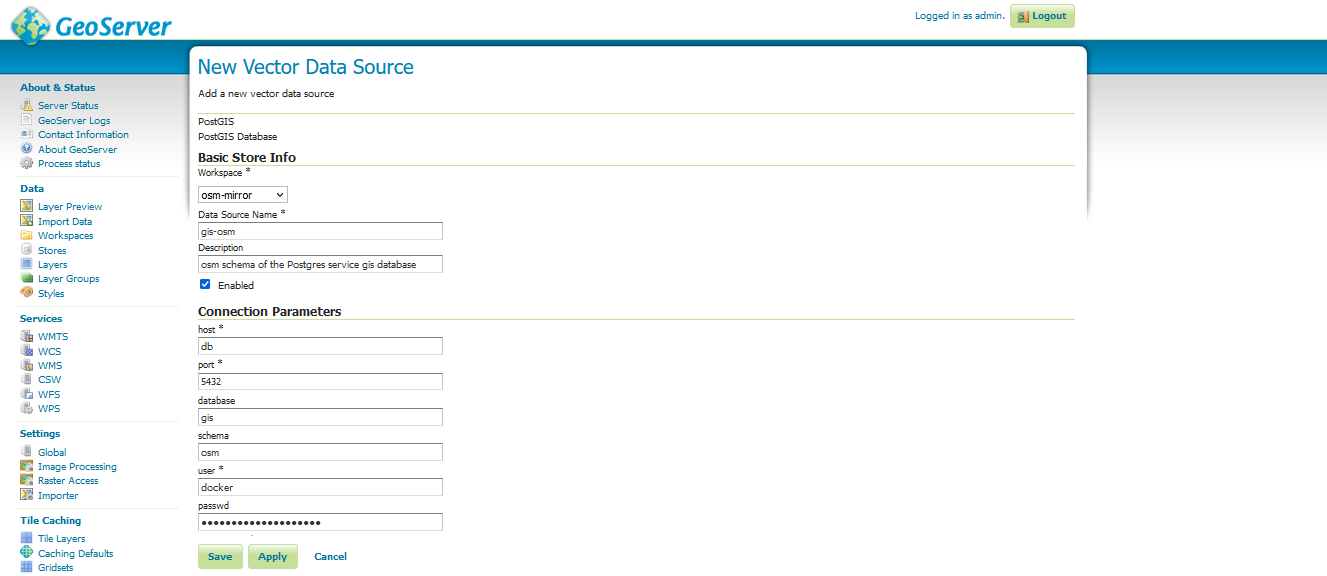
Name your new vector data source gis-osm. For the connection parameters, specify the following:
host : db
port : 5432
database : gis
schema : osm
user : <POSTGRES_USER>
passwd : <POSTGRES_PASSWORD>
The <POSTGRES_USER> and <POSTGRES_PASSWORD> are specified in the .env file.
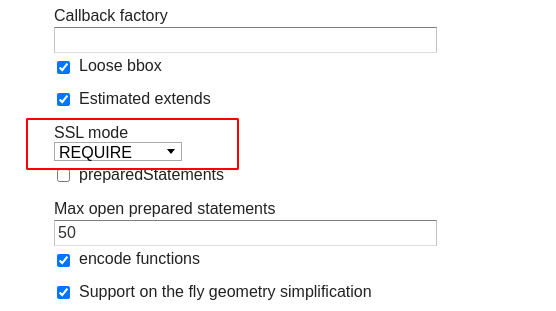
Also, be sure to scroll down and set the SSL mode to REQUIRE then click on “SAVE”.
From the list of layers in the New Layer page, search for the osm_waterways_rivers layer using the search bar and click on “Publish”.

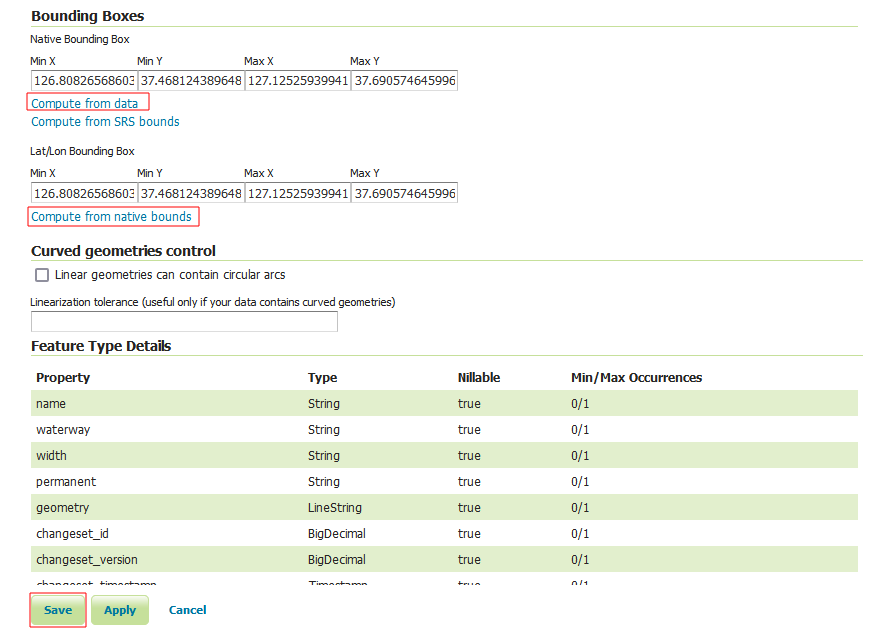
Complete the layer details as appropriate and make sure to click the options highlighted in red in the image below. Click on “Save” once you are finished.
Using QGIS Desktop as a web service client for GeoServer published layers
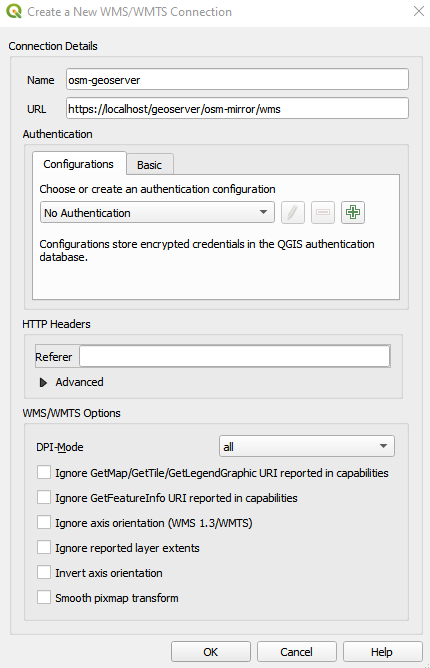
You can connect to GeoServer from QGIS using WFS or WMS using the scheme: https://<server>/geoserver/<workspace>/wfs or https://<server>/geoserver/<workspace>/wms where <server> is the hostname of the server where you set up OSGS and <workspace> is the name of the workspace you created in the previous section.
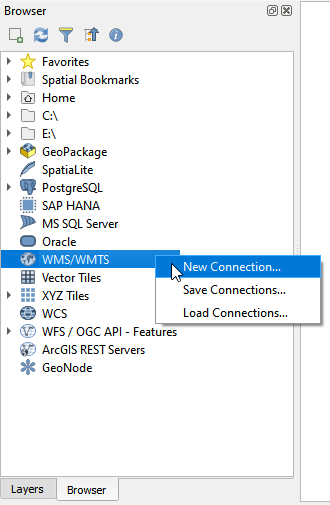
In your QGIS Desktop Browser Panel, right click on the WMS/WMTS option and click on New Connection.
Give the connection an appropriate name and set the URL using the WMS schema as shown below. Click on “OK”.
You can drag and drop the layer onto the Map View, to view the layer.
