Uploading a QGIS project
This workflow demonstrates how to publish a QGIS project in a folder/directory.
The vector data used in this workflow was acquired from OpenStreetMap using the Docker OSM mirror service using the Creating an Open Street Map mirror into your database workflow. The layers were then exported from the Postgres service gis database into a GeoPackage using the ogr2ogr tool. The clip.geojson file used to get the OpenStreetMap data for Seoul, South Korea, was obtained from thesouthkorea/seoul-maps repository.
Deploy the initial stack and the QGIS Server service
In your server terminal, deploy the initial stack by running either make configure-ssl-self-signed or make configure-letsencrypt-ssl. The initial stack consists of the Nginx, Hugo Watcher and Watchtower services.
Use make configure-ssl-self-signed if you are going to use a self-signed certificate on a localhost for testing. Use make configure-letsencrypt-ssl if you are going to use a Let’s Encrypt signed certificate on a name host for production. The make configure-ssl-self-signed will deploy the Nginx, Hugo Watcher and Watchtower services, but after running make configure-letsencrypt-ssl you will need to run make deploy-hugo to deploy the Nginx, Hugo Watcher and Watchtower services.
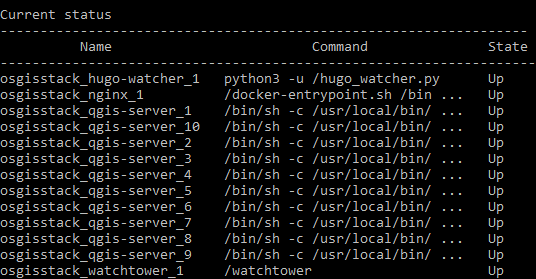
To deploy the QGIS Server Service, run make deploy-qgis-server. Use make ps to see the services running. The following services should be up:
Prepare the QGIS project
Place the QGIS project file and its associated vector and/or raster data in a named directory that matches the name of the QGIS project file. In this workflow, the SeoulOSMMirror.qgz QGIS project file and the SeoulOSMMirror.gpkg GeoPackage file are in the directory SeoulOSMMirror.
Deploy the File Browser service and upload the QGIS project
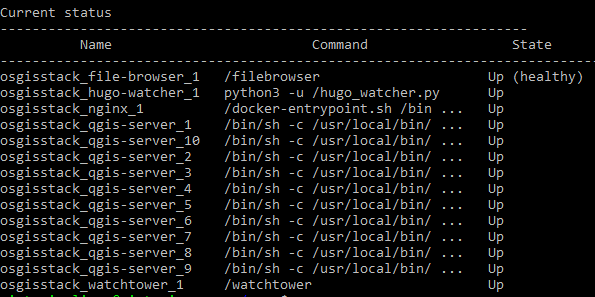
To deploy the File Browser service run make deploy-file-browser. The following services should be up:
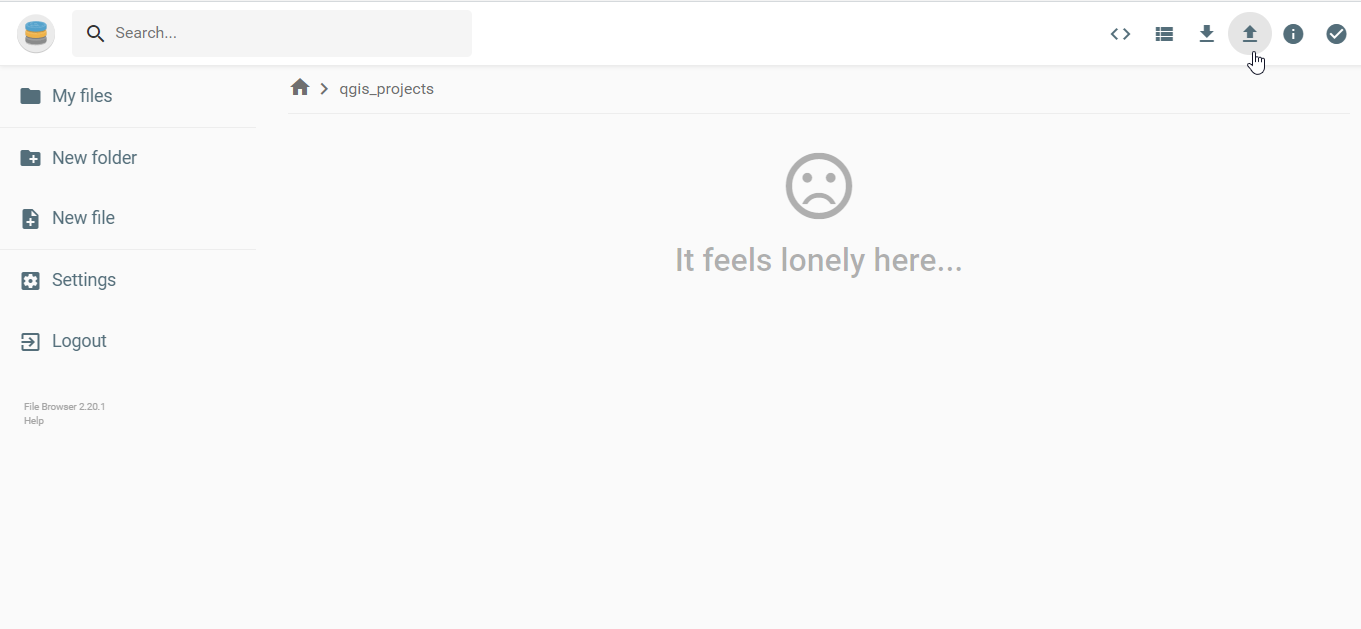
The file browser service can now be accessed on /files/ e.g. https://localhost/files. The URL will direct you to the Login page. Sign in to the service using the File Browser username admin and password <FILEBROWSER_PASSWORD> specified in the .env file.

Navigate into the qgis_projects folder, click on the upload button and upload the directory/folder containing the QGIS project file to be published.
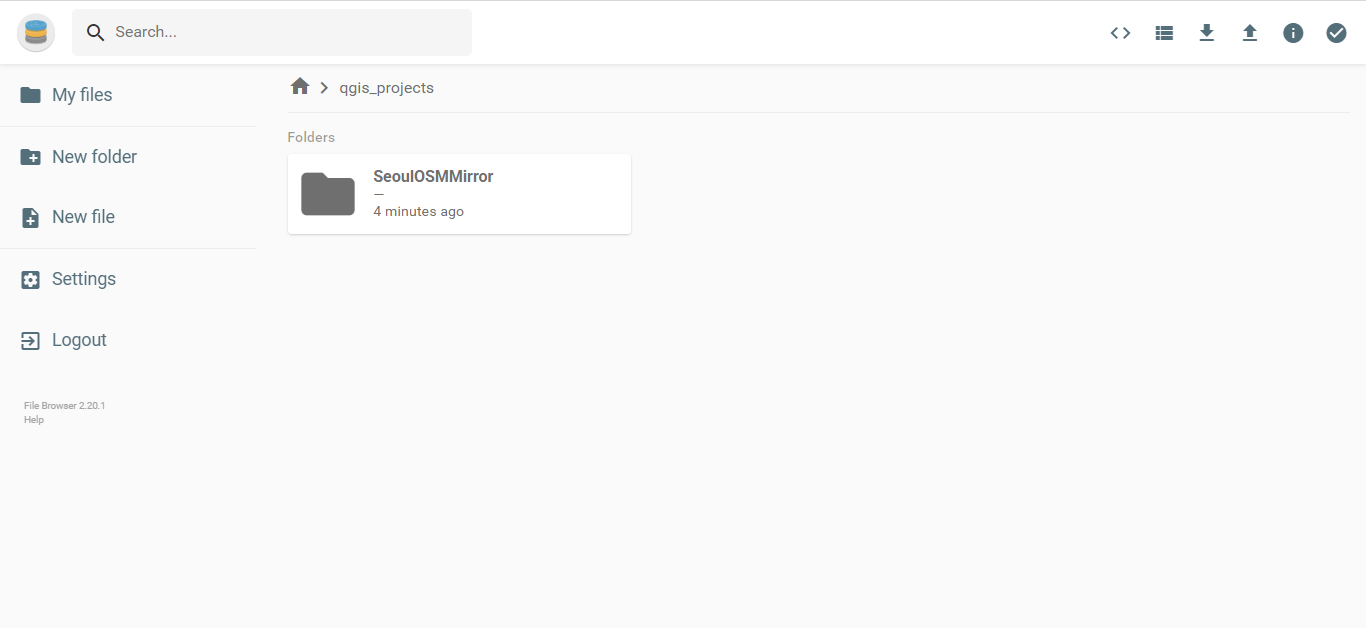
Restart the QGIS Server service using make restart-qgis-server.
Using QGIS Desktop as a web service client for QGIS Server published layers
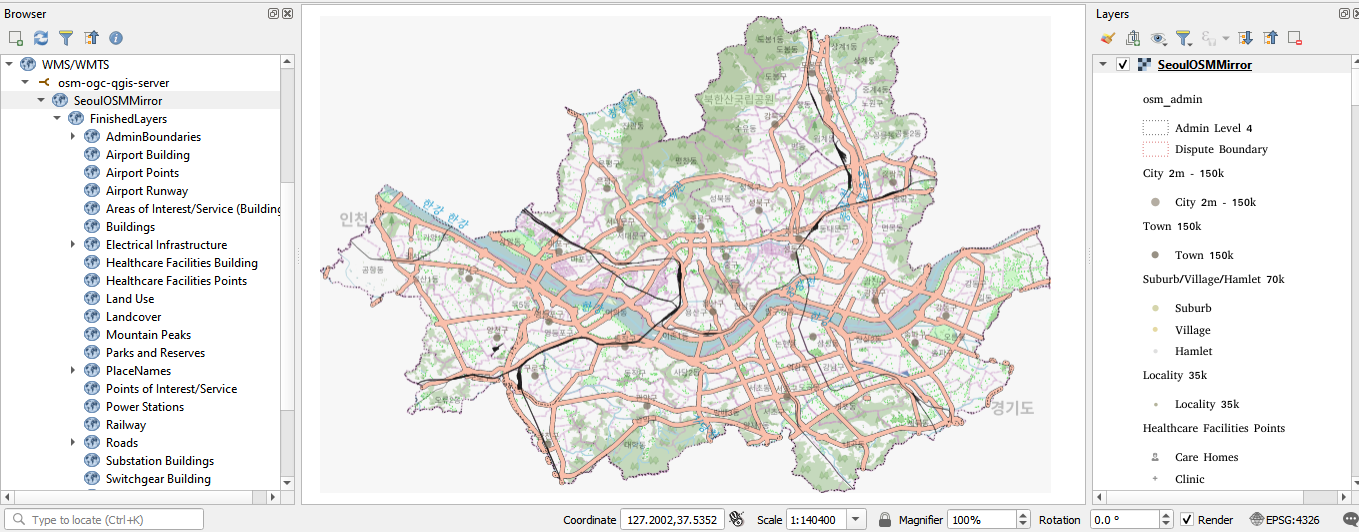
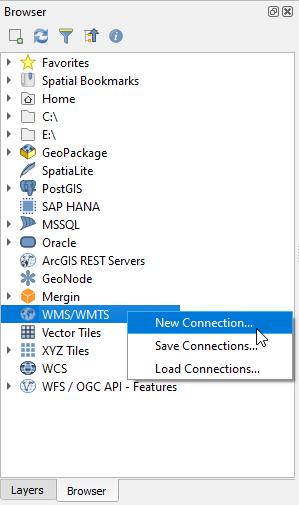
We can now access the QGIS project on the OGC link. In your QGIS Desktop Browser panel, right click on the WMS/WMTS option and create a new connection.
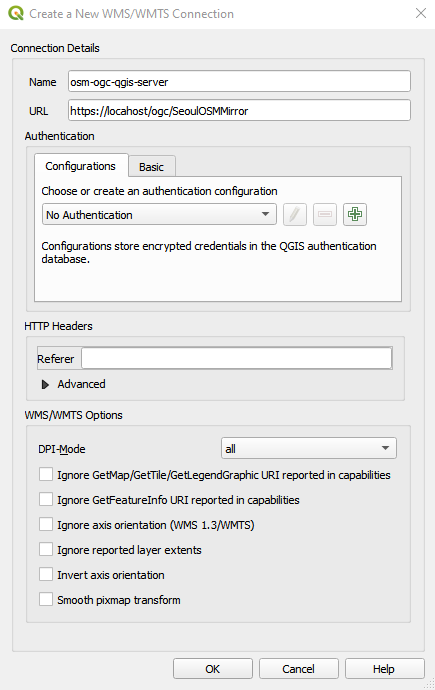
Give the new connection an appropriate name. For the URL parameter, access the published QGIS project via /ogc/SeoulOSMMirror i.e. https://<server name>/ogc/<QGIS project name>/. The <server name> parameter is the hostname of the server where you set up OSGS. Click “Ok”.
Once the connection is successful, you can now load into QGIS the entire published QGIS project or individual layers as WMS layers. Drag and drop the SeoulOSMMirror layer onto the QGIS workspace to view the project.
