91. GitHub App Integration
Set up a GitHub App to allow BIMS to automatically create and assign issues in a GitHub repository when users submit data uploads. This guide covers creating the app, generating credentials, installing it on your target repository, and entering the credentials into the BIMS admin.
91.1 Create a New GitHub App
If you do not yet have a GitHub App, follow these steps.
91.1.1 Navigate to App Settings
- Go to GitHub.com and sign in.
-
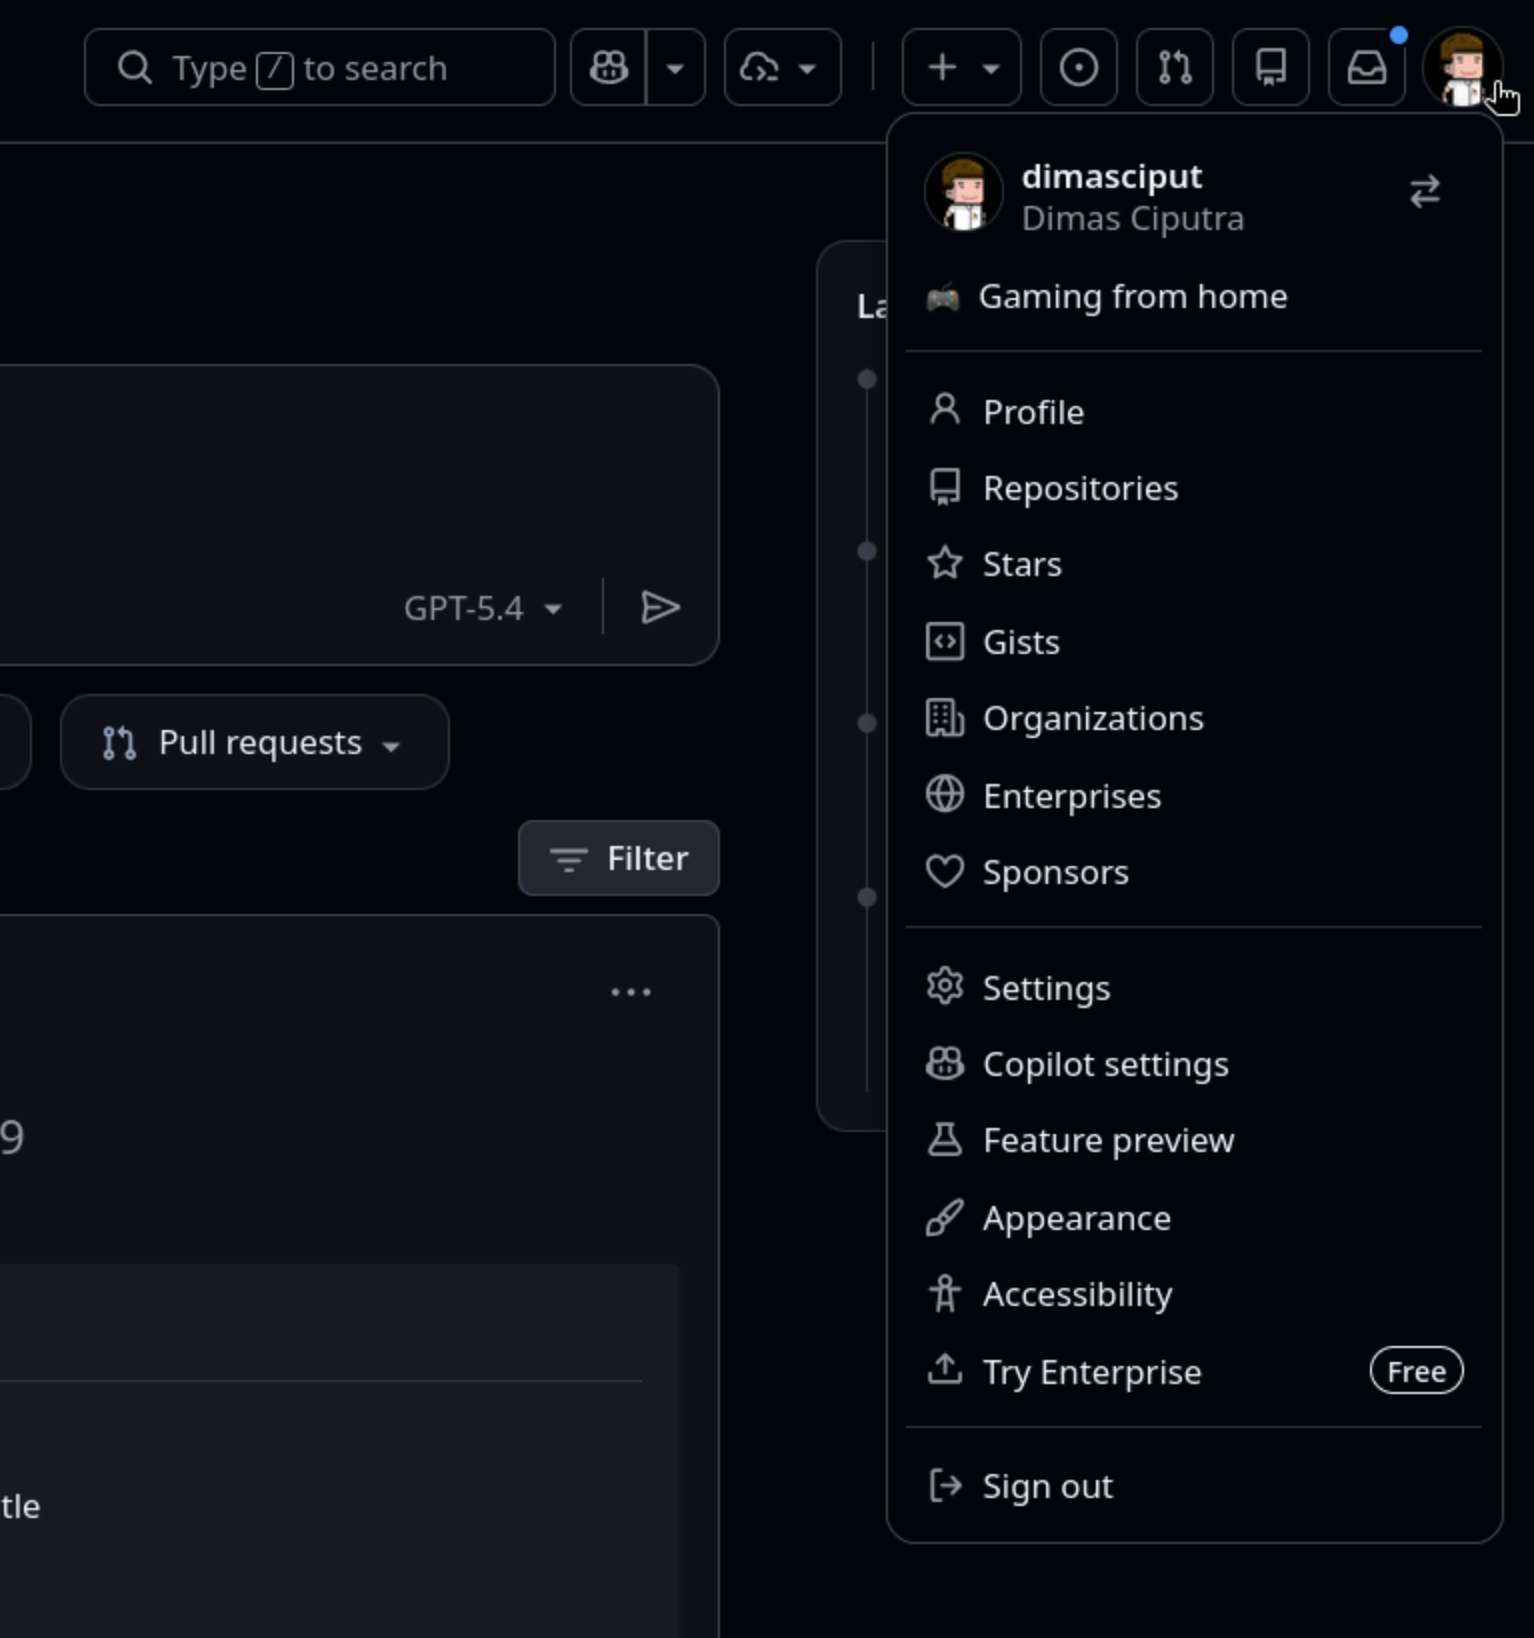
Click your profile photo (top-right) > Settings.
-
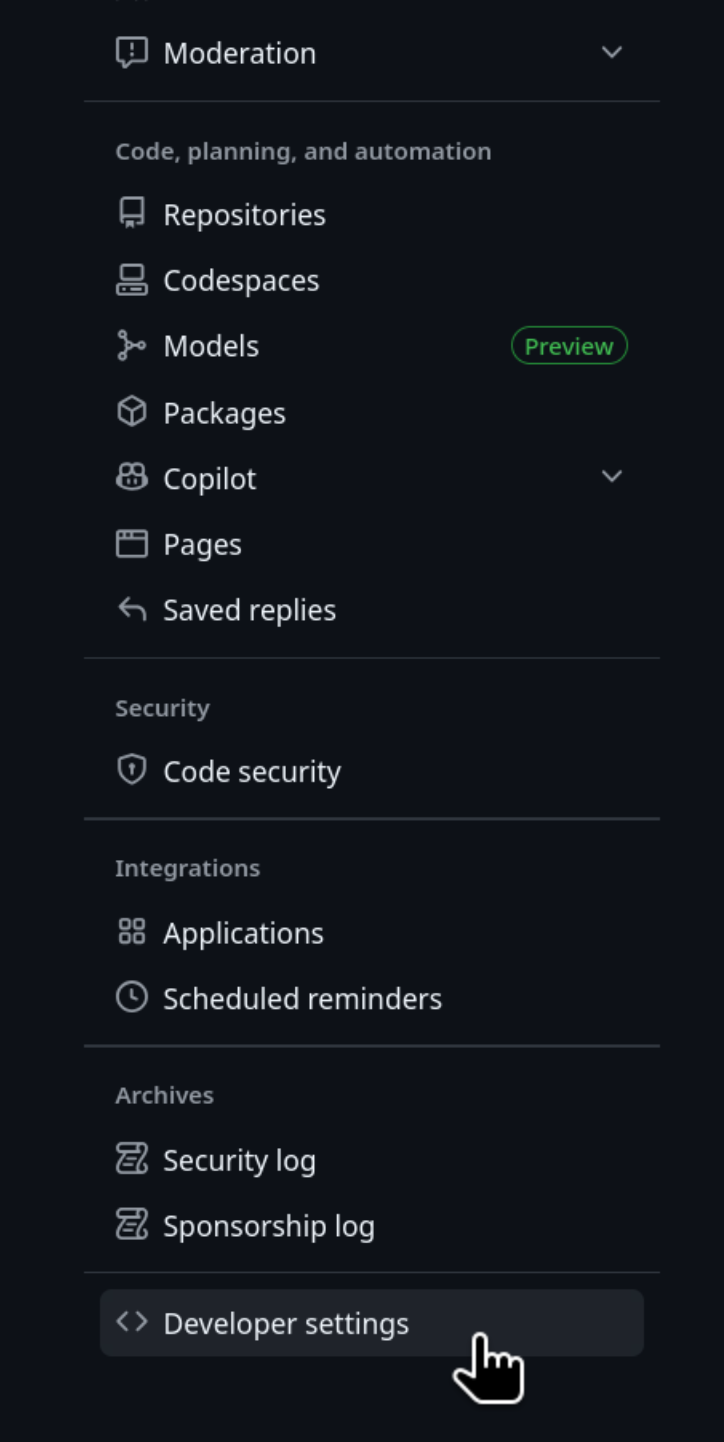
In the left sidebar, scroll down and click Developer settings.
-
Click GitHub Apps > New GitHub App.

91.1.2 Fill in the App Details
Fill in the required fields on the new app form:
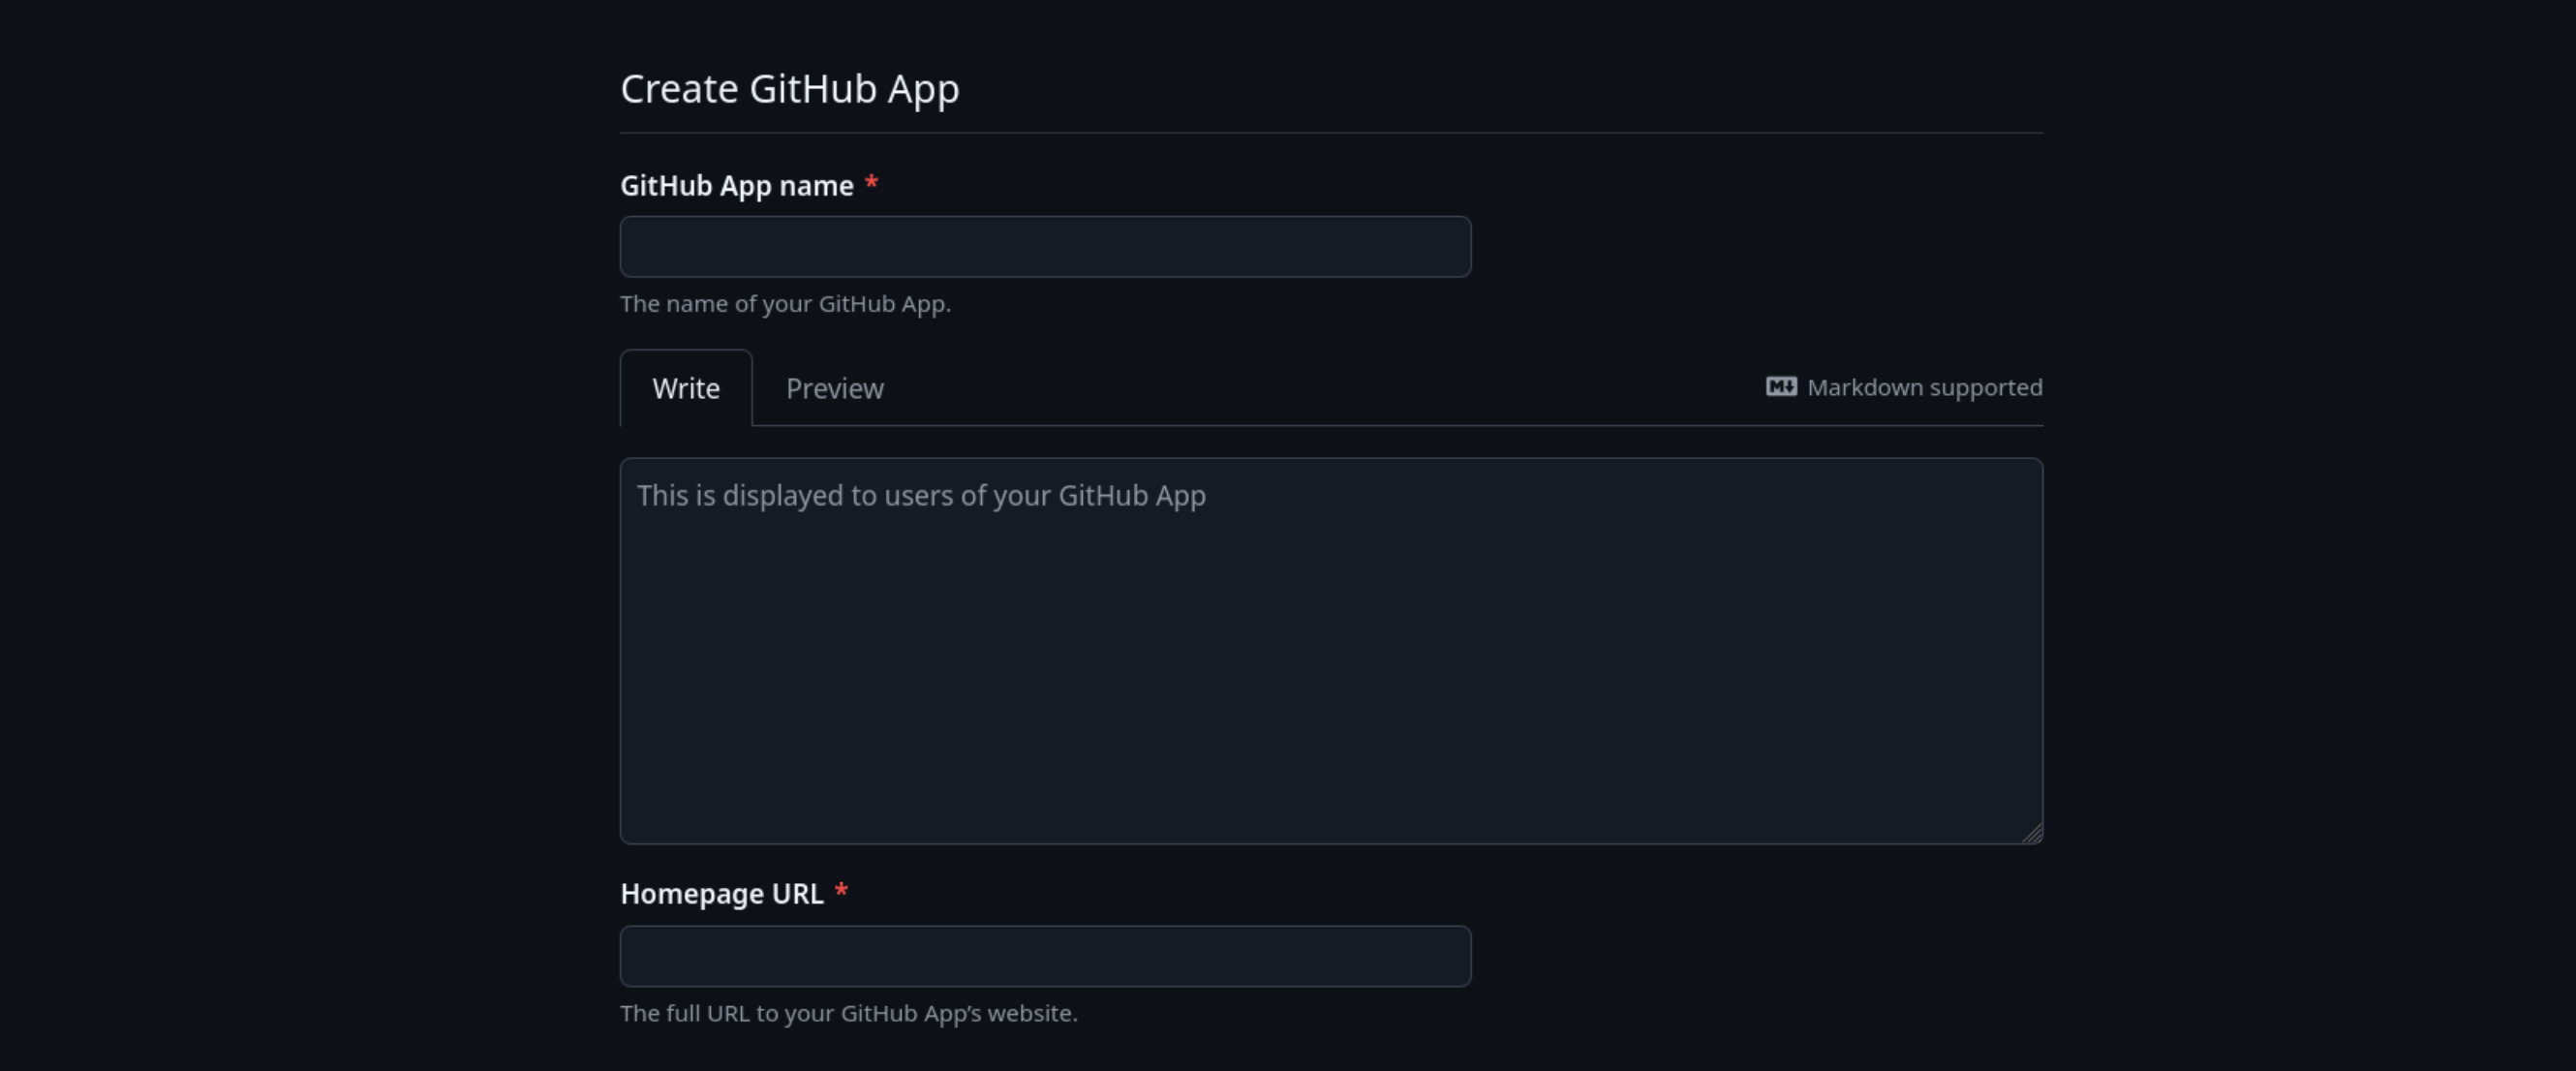
| Field | Value |
|---|---|
| GitHub App name | A unique name, e.g. BIMS support |
| Homepage URL | Your project URL or repository URL, .e.g. https://fbisafrica.org |
| Webhook | Uncheck "Active" |
91.1.3 Set Repository Permissions
Under Permissions > Repository permissions, set the following based on what the app needs to do:
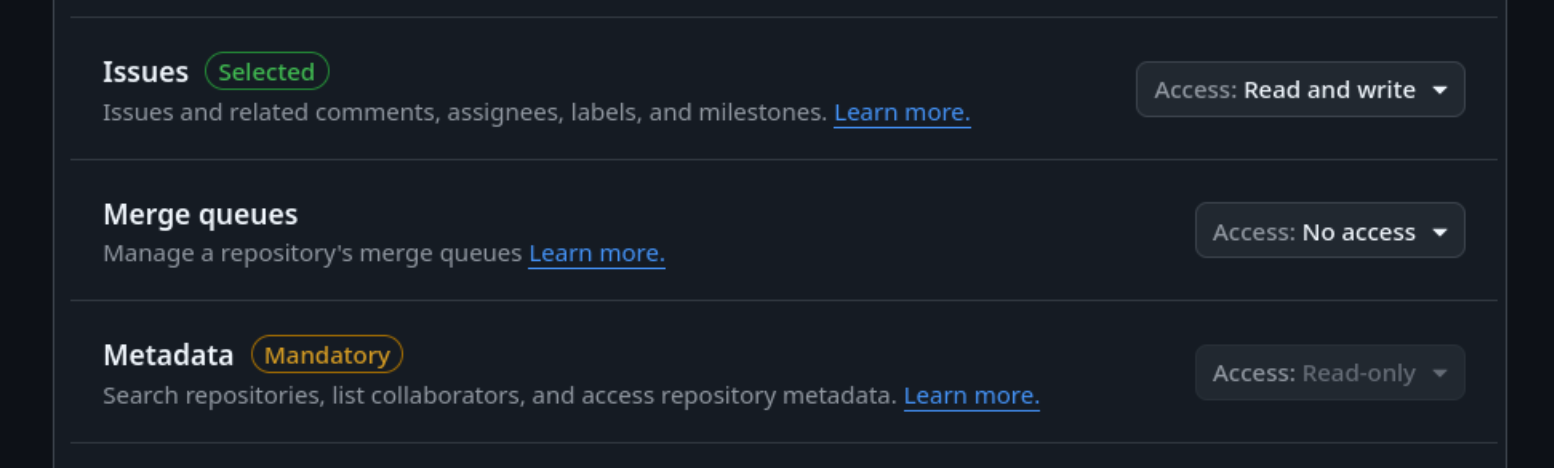
| Permission | Level | When needed |
|---|---|---|
| Issues | Read & write | Open/update issues |
| Metadata | Read-only | Required for all repo access |
Only grant the minimum permissions required.
91.1.4 Set Where the App Can Be Installed
Under Where can this GitHub App be installed?, choose:
- Only on this account - if the target repo is in the same org/account.
- Any account - if the target repo is in a different org or owned by someone else.
91.1.5 Create the App
Click Create GitHub App. You will be redirected to the app's settings page.
91.2 Generate a Private Key
The app needs a private key to authenticate as itself.
- On the app's settings page, scroll down to Private keys.
-
Click Generate a private key.
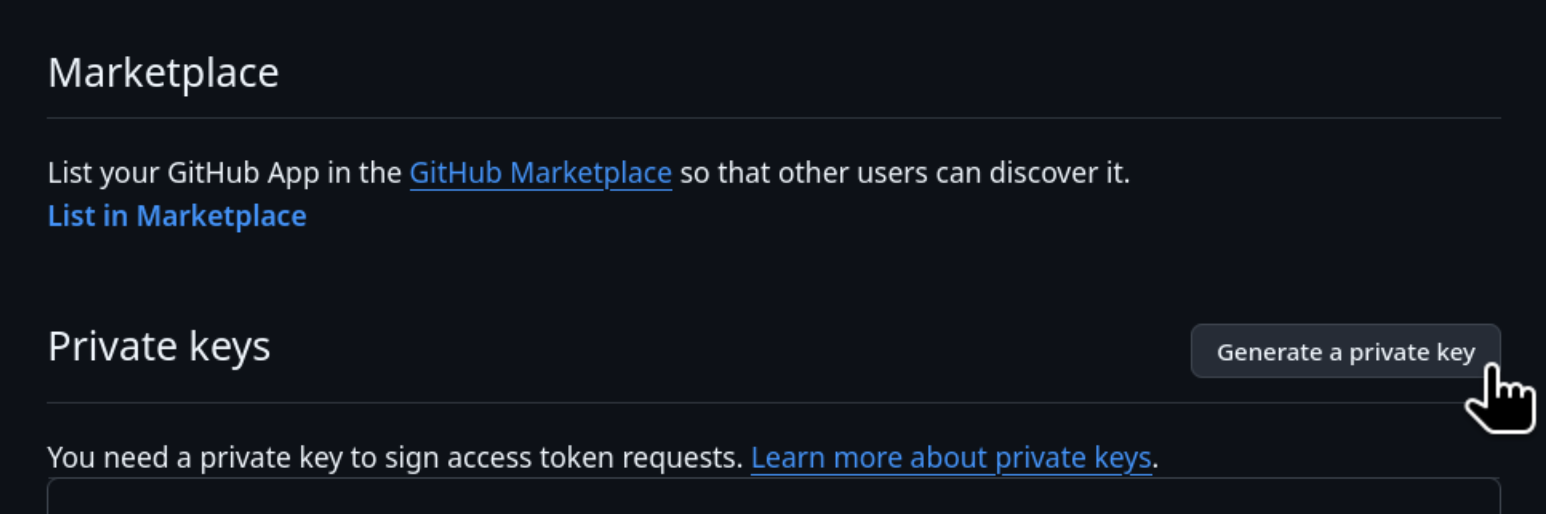
-
A
.pemfile will be downloaded automatically. Store this securely - it is the app's credential. Note the App ID displayed at the top of the settings page. You will need it alongside the private key.
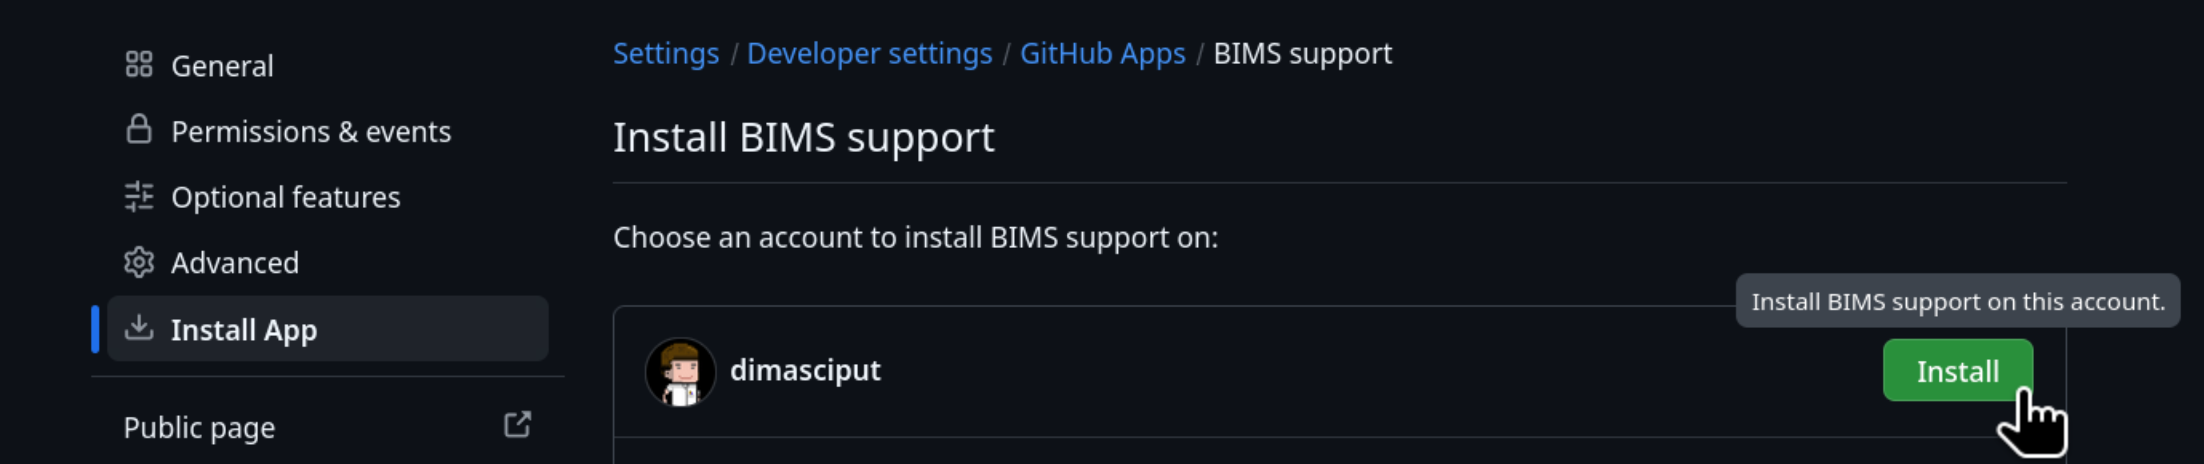
91.3 Install the App on the Target Repository
Installing the app grants it access to specific repositories.
91.3.1 Install from the App Settings Page
-
On the app's settings page, click Install App in the left sidebar.

-
Click Install next to the account or organization that owns the target repository.
-
On the installation screen, choose:
- All repositories - grants access to every repo in that account.
-
Only select repositories - recommended. Select only the specific target repo.
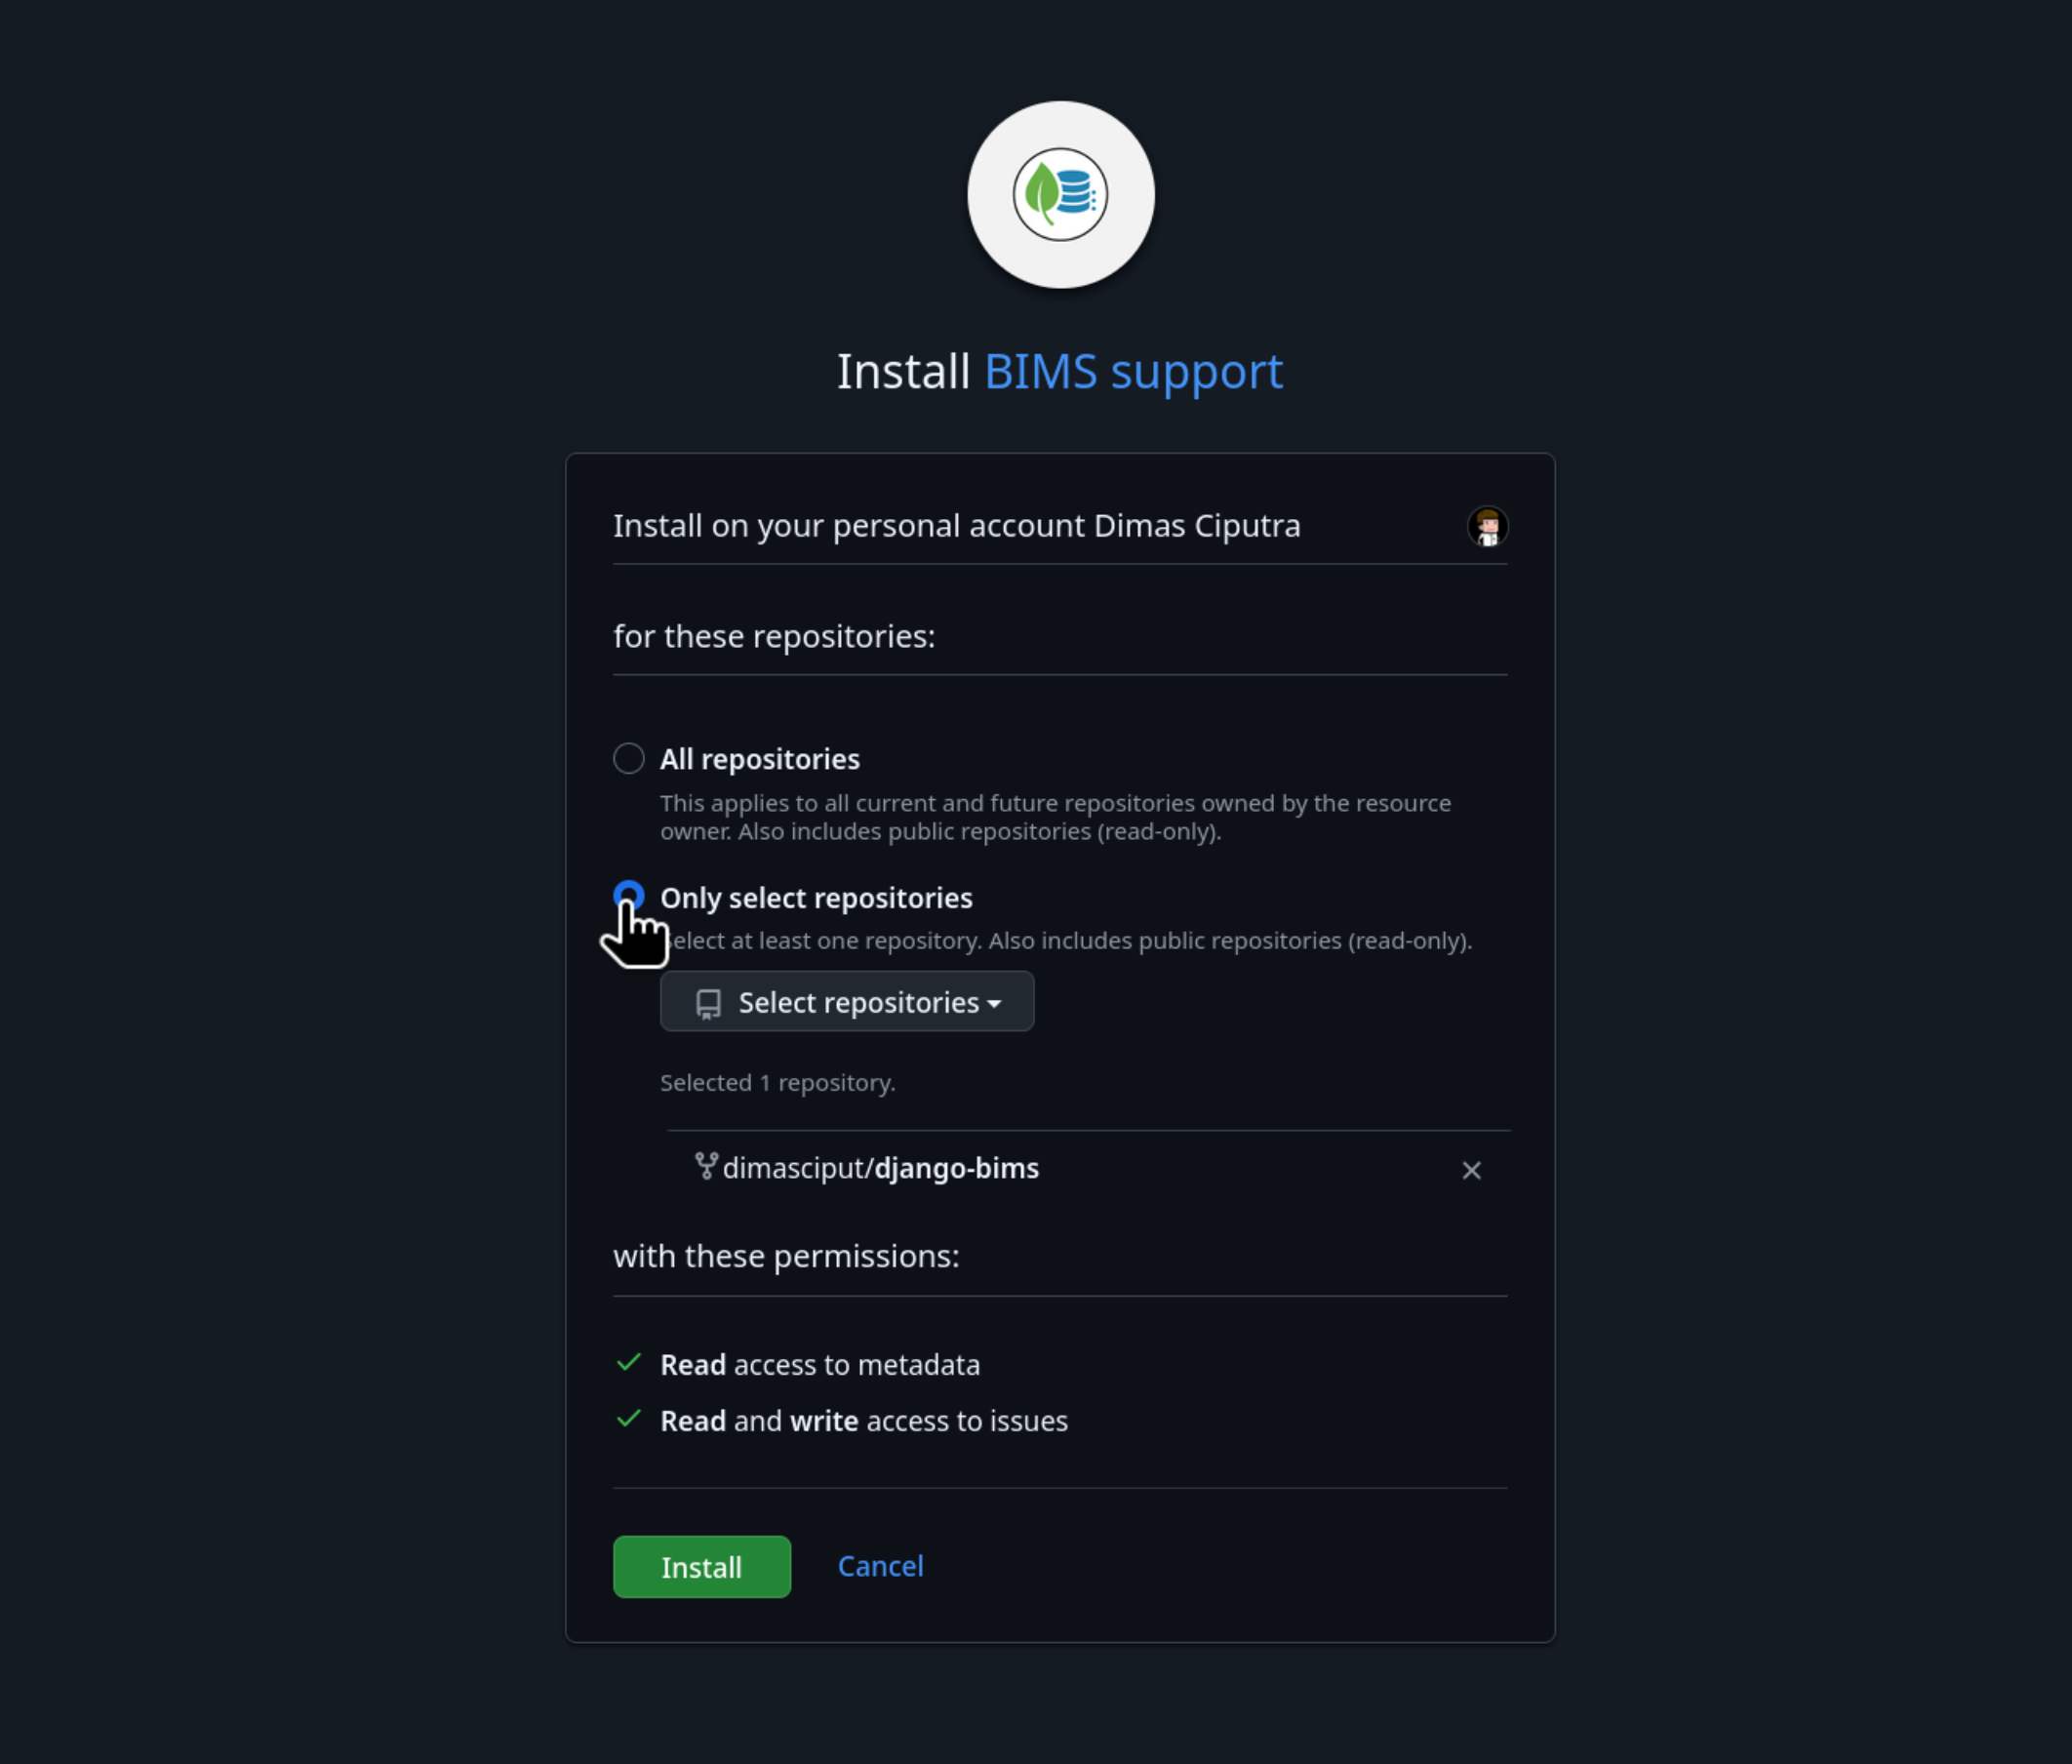
-
Click Install.
91.3.2 Install on a Repository in a Different Organization
If the target repo belongs to a different GitHub organization:
- The app must have "Any account" selected in its installation setting (see step 1.4).
- Share the app's public link with the org owner, or navigate to:
- The org owner installs it and selects the target repository.
91.4 Update an Existing GitHub App
If you already have a GitHub App and need to add access to a new repository:
91.4.1 Update Permissions (if needed)
- Go to Settings > Developer settings > GitHub Apps.
-
Click Edit on your app.

-
Under Permissions & events, update the repository permissions as needed.
- Click Save changes.
- GitHub will notify all existing installations about the permission change. Each installation owner must approve the new permissions before they take effect.
91.5 Configure BIMS Site Settings
Once your GitHub App is created, installed, and you have the private key, enter the credentials in the BIMS Django admin.
91.5.1 Open Site Settings
- Log in to the BIMS admin panel (e.g.
https://your-bims-site/admin/). - Navigate to Preferences > Site settings.
- Scroll to the GitHub App section.
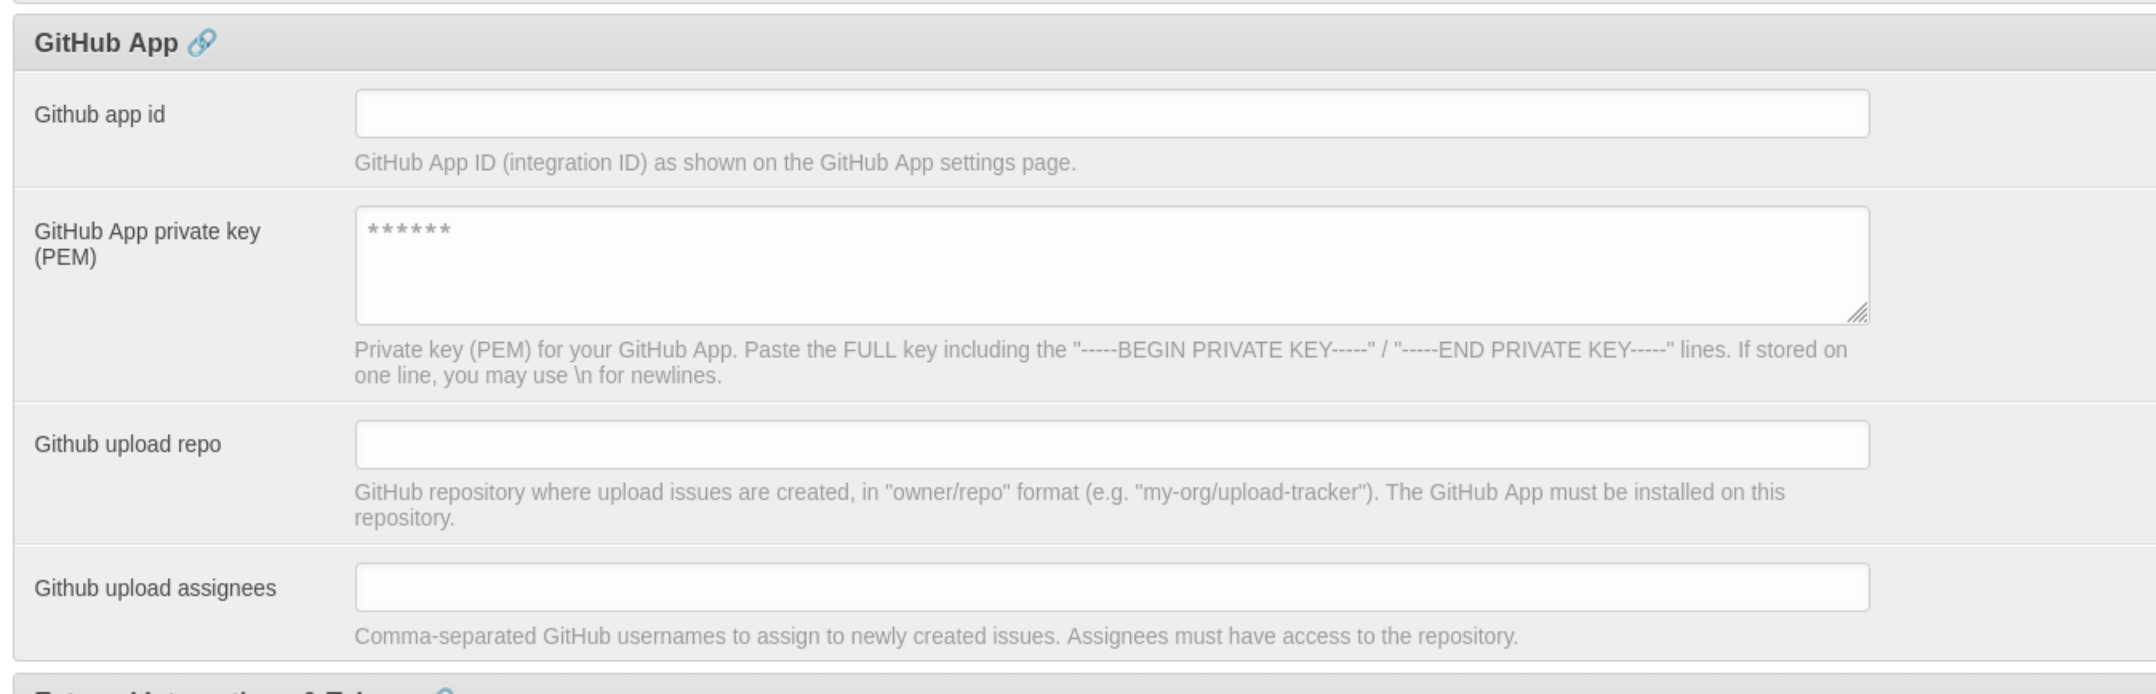
91.5.2 Fill in the Fields
| Field | Where to find the value |
|---|---|
| GitHub App ID | The numeric ID shown at the top of your app's settings page on GitHub (see step 2 above). |
| GitHub App private key (PEM) | The full contents of the .pem file downloaded in step 2. Paste the entire key, including the -----BEGIN RSA PRIVATE KEY----- and -----END RSA PRIVATE KEY----- lines. If pasting as a single line, use \n for newlines. |
| GitHub upload repo | The repository where upload issues are created, in owner/repo format (e.g. my-org/upload-tracker). The GitHub App must be installed on this repository. |
| GitHub upload assignees | Comma-separated GitHub usernames to assign to newly created issues (e.g. alice,bob). All listed users must have access to the repository. Leave blank to create unassigned issues. |
The private key is encrypted at rest. After saving, the field shows
******and the value is never displayed again. To rotate the key, paste the new PEM content and save.
91.5.3 Save
Click Save at the bottom of the page. BIMS will use these credentials to authenticate as the GitHub App and create issues when users submit uploads.
91.6 Troubleshooting
| Problem | Cause | Fix |
|---|---|---|
Resource not accessible by integration |
App not installed on target repo | Install the app on the target repo (step 3) |
Permission denied |
Missing or insufficient permissions | Update app permissions (step 4.1) and approve the change |
JWT token invalid |
Wrong App ID or malformed private key | Check that GitHub App ID and GitHub App private key in Site Settings are correct |
| App works on one repo but not the target | Installation is scoped to a different repo | Reconfigure installation to include the target repo (step 4.2) |
| Org requires approval for third-party apps | Org policy blocks unapproved apps | Org owner must approve the app under org settings |