Getting Started
This guide walks you through installing GeoTUI on Windows and connecting it to a GeoServer instance hosted on GeoSpatialHosting.com. The same steps apply on Linux and macOS — only the installation differs.
Step 1: Download GeoTUI
Download the latest release for your platform from the GitHub Releases page.
For Windows, download geotui-windows-amd64.exe.
Step 2: Handle the SmartScreen Warning
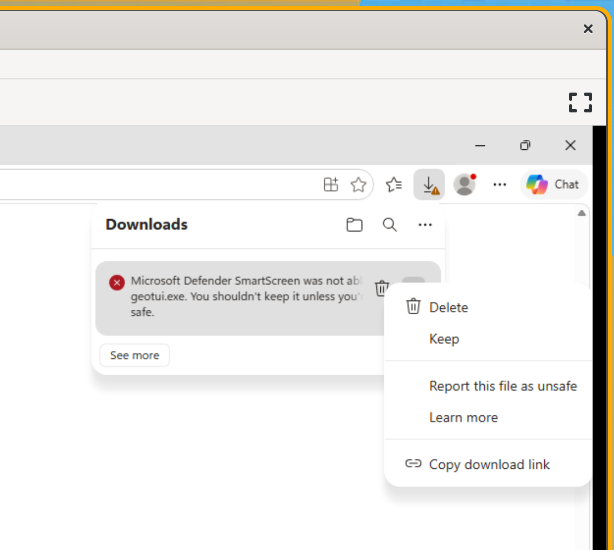
Because GeoTUI is not code-signed with a Microsoft certificate, Windows Defender SmartScreen will block the download and first run.
In your browser, you may see a warning that the download was blocked. Click the menu icon and choose Keep:
When you run the .exe, Windows will show "Windows protected your PC". Click More info to reveal the Run anyway button:
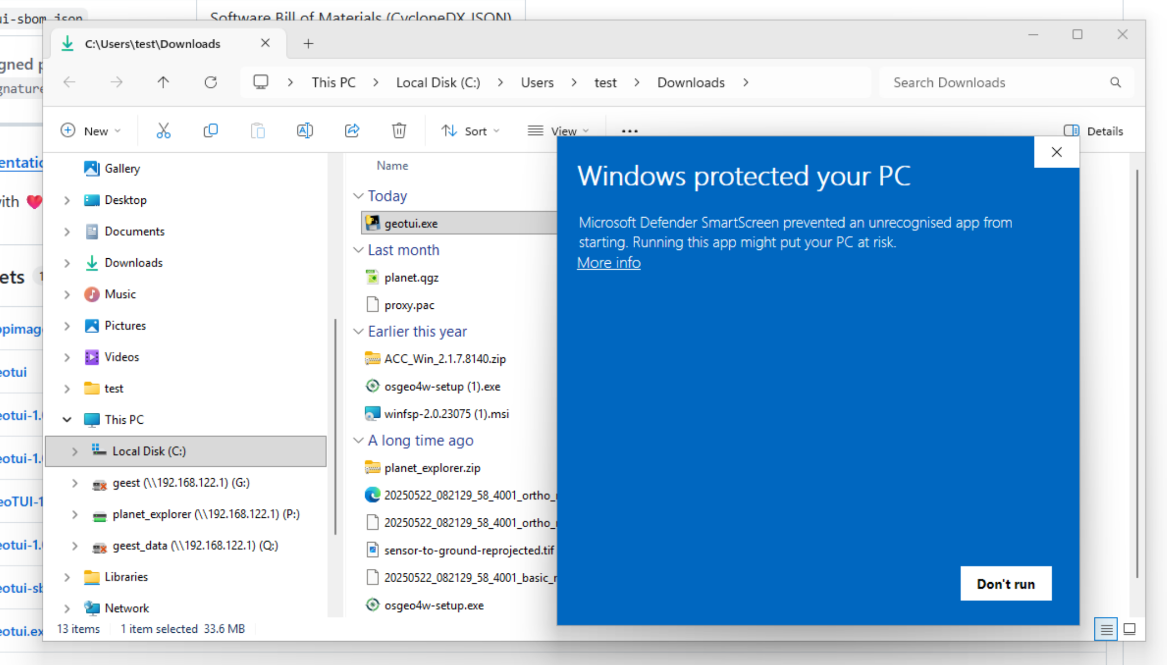
Then click Run anyway to launch GeoTUI:

This only happens once
SmartScreen remembers your choice. You won't see this warning again for the same version.
Step 3: First Launch
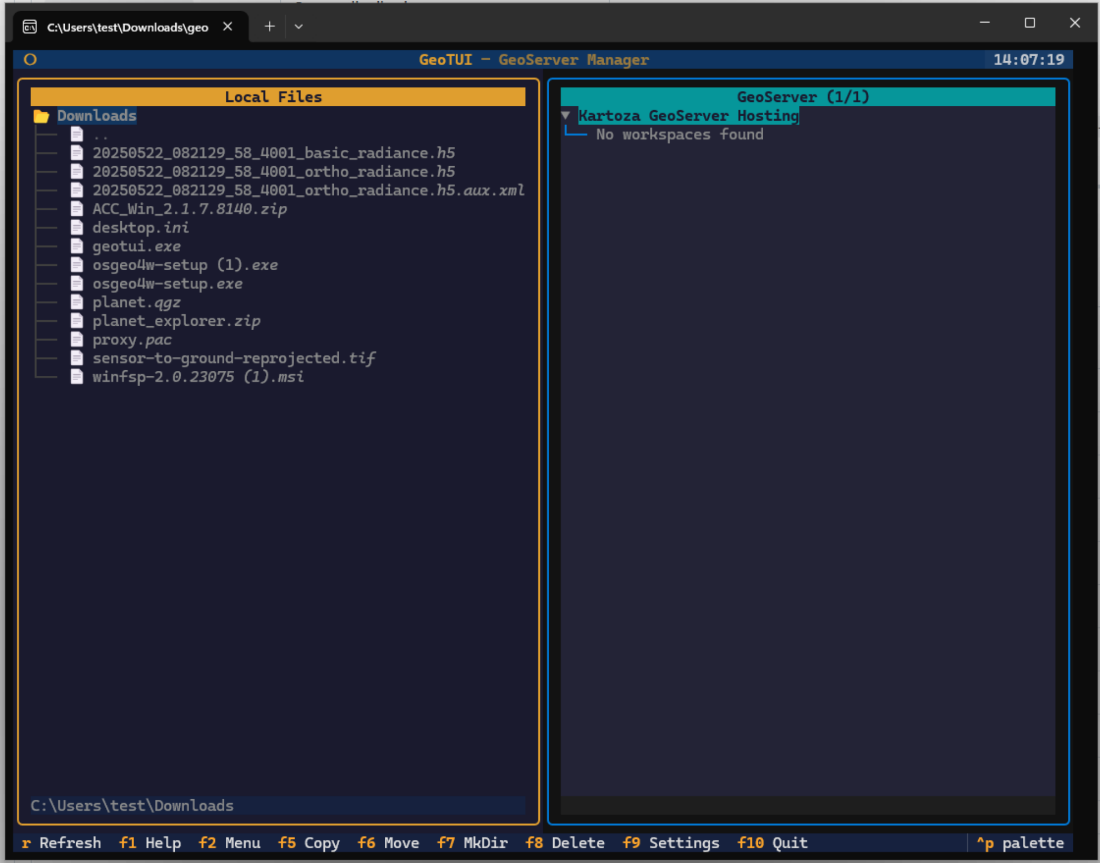
GeoTUI opens with a dual-pane interface inspired by Midnight Commander:
- Left pane — your local file system
- Right pane — GeoServer connections (currently empty)
- Footer — function key shortcuts (F1-F10)
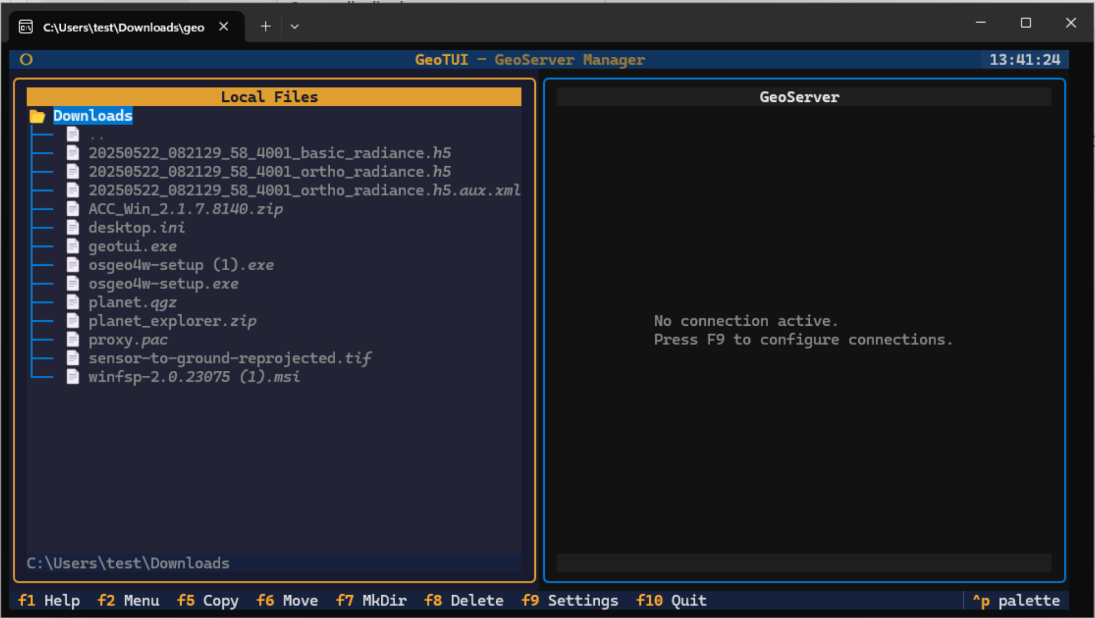
The right pane shows "No connection active. Press F9 to configure connections." — let's do that next.
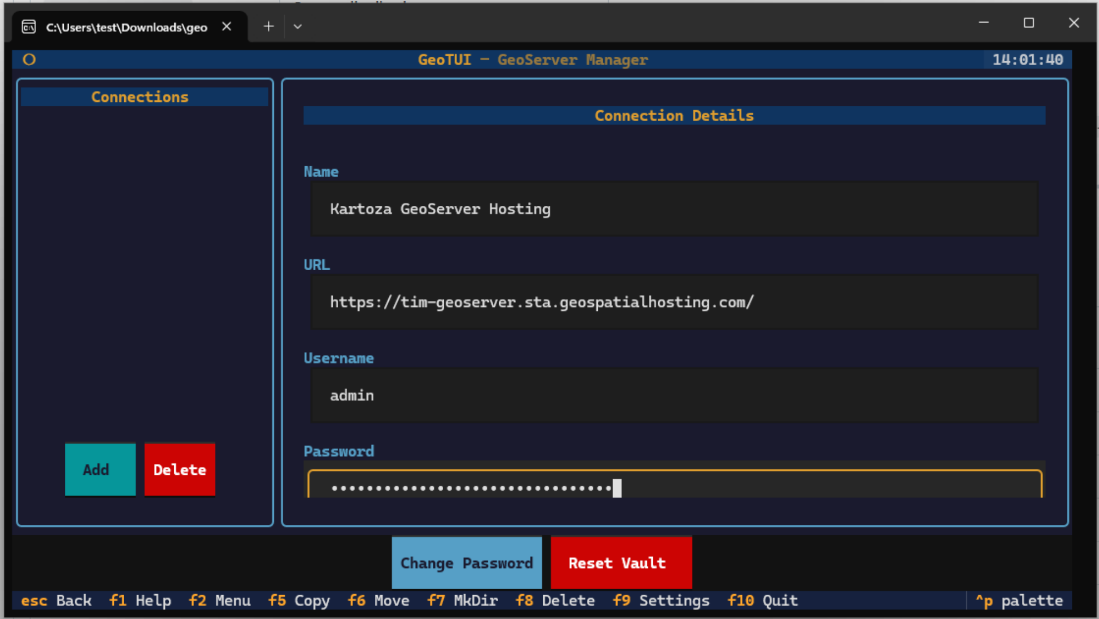
Step 4: Open Settings (F9)
Press F9 to open the Settings screen. You'll see the connection manager with an empty list on the left and connection details on the right:
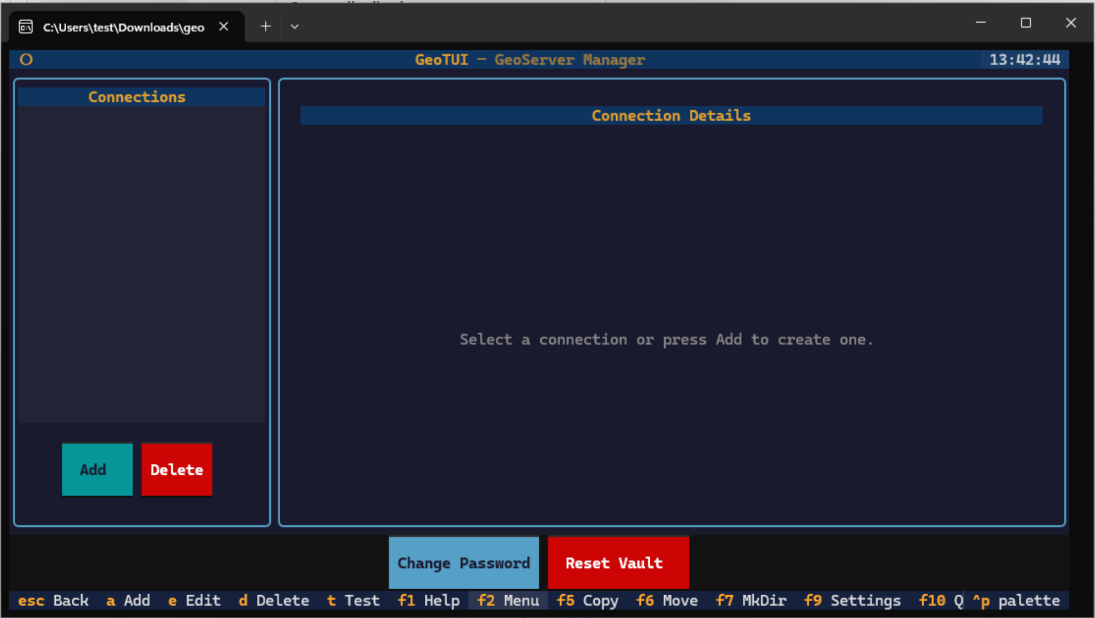
Notice the Change Password and Reset Vault buttons at the bottom — these manage your encrypted credential vault (more on this below).
Step 5: Create a Master Password
When you add your first connection, GeoTUI will prompt you to create a master password. This password encrypts all your GeoServer credentials using AES-256 encryption:
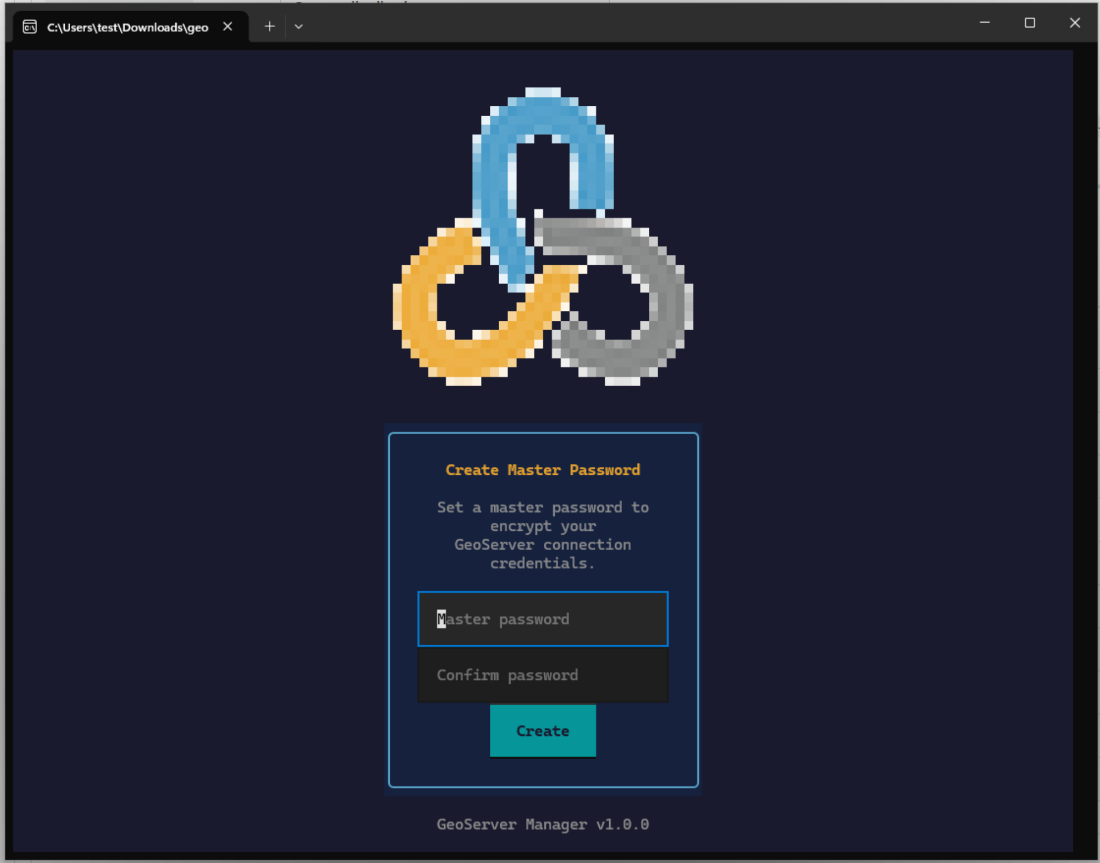
Remember your master password
If you forget your master password, the only recovery option is Reset Vault, which deletes all saved connections. There is no password recovery.
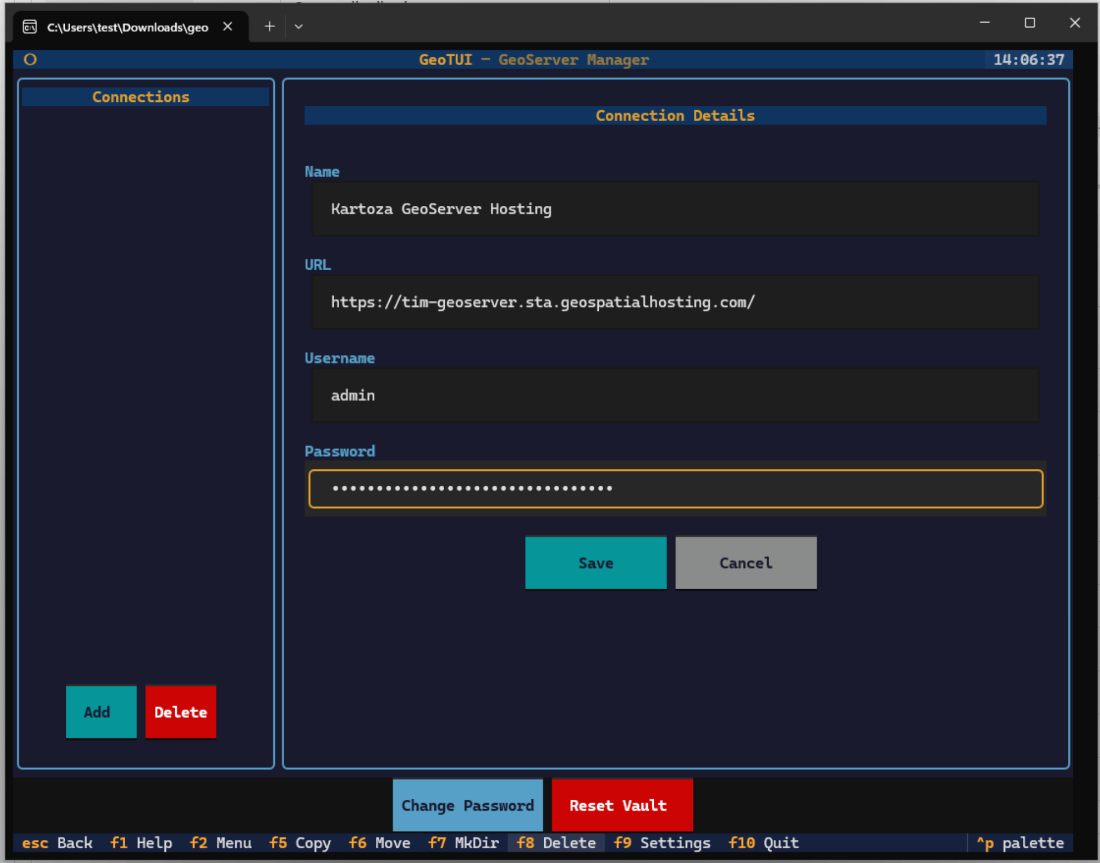
Step 6: Add a Connection
Click Add and fill in your GeoServer connection details:
- Name — a friendly label (e.g. "Kartoza GeoServer Hosting")
- URL — your GeoServer base URL
- Username — your GeoServer admin username
- Password — your GeoServer admin password
Click Save to store the connection. Your password is encrypted before it's written to disk.
Step 7: Test the Connection
After saving, select your connection from the list and click Connect. You'll see "Testing connection..." followed by a success message showing the GeoServer version:
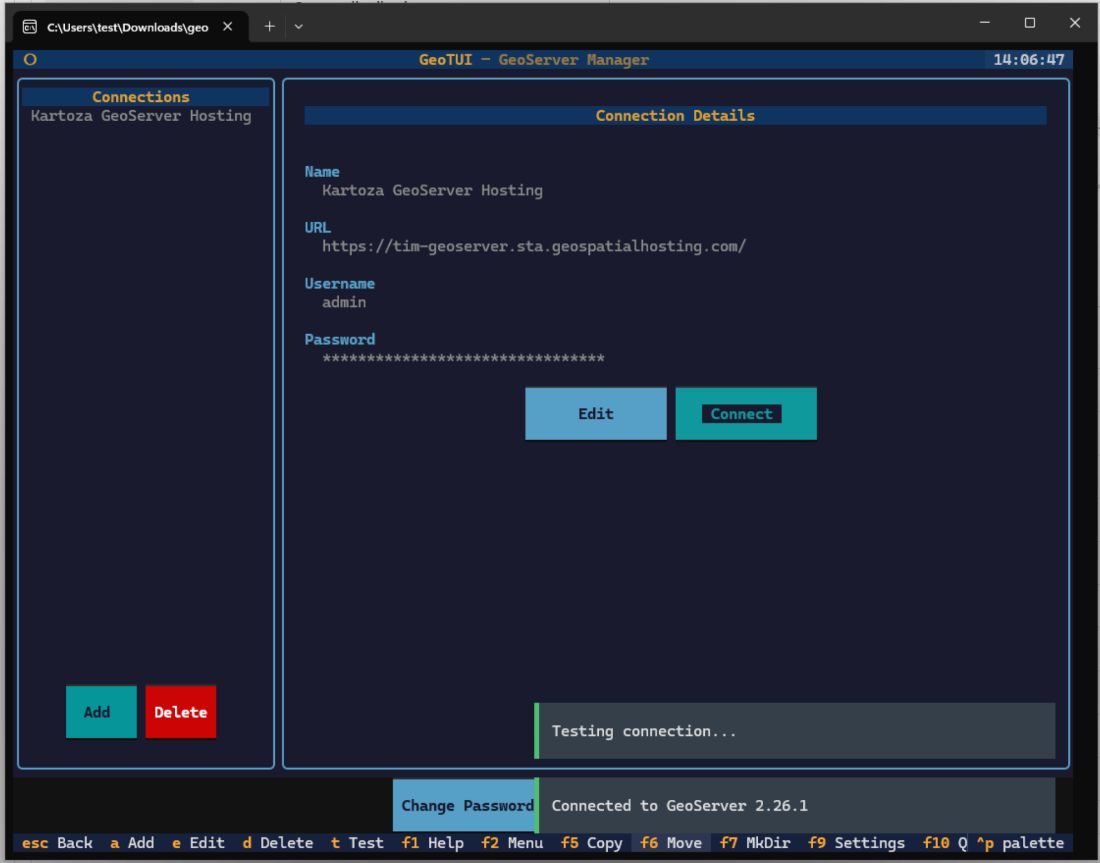
Press Escape to return to the main screen. Your GeoServer tree will appear in the right pane.
Step 8: Explore Your GeoServer
Back on the main screen, expand your connection in the right pane to browse workspaces, stores, and layers:
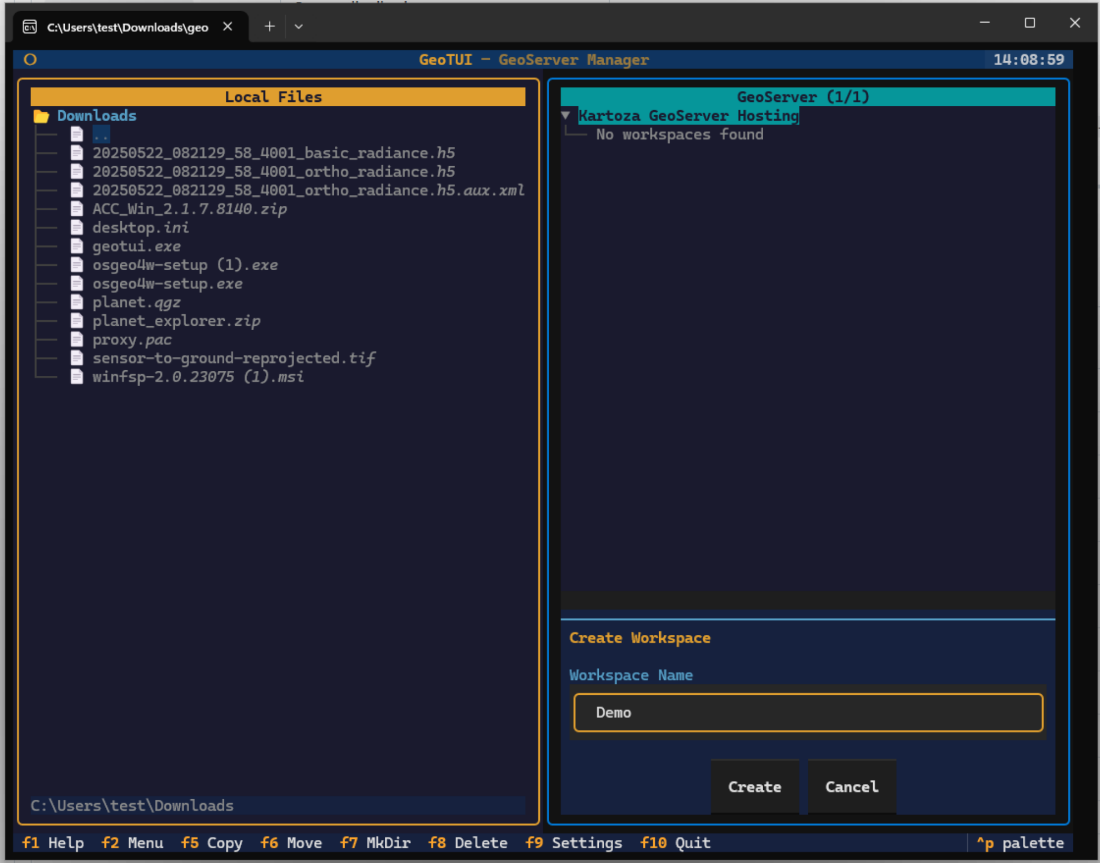
If you see "No workspaces found", you can create one using the F2 menu:
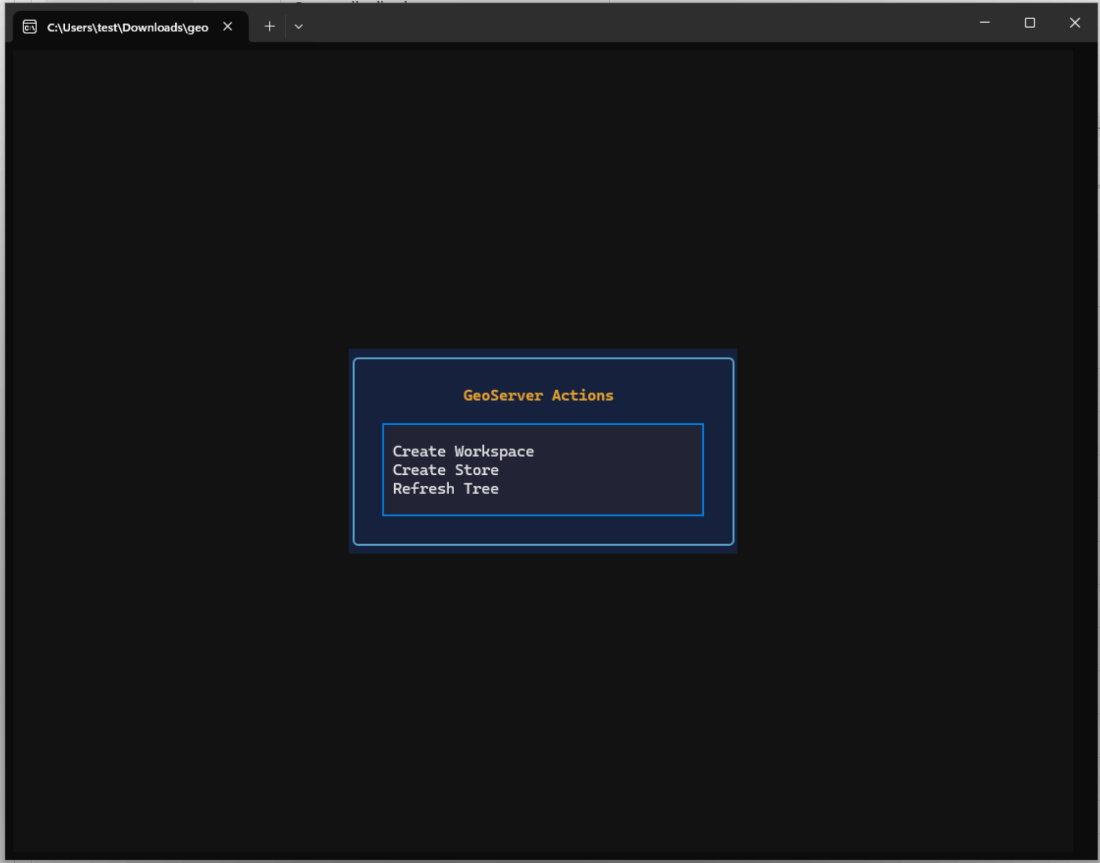
Select Create Workspace and enter a name:
Step 9: Publish Data
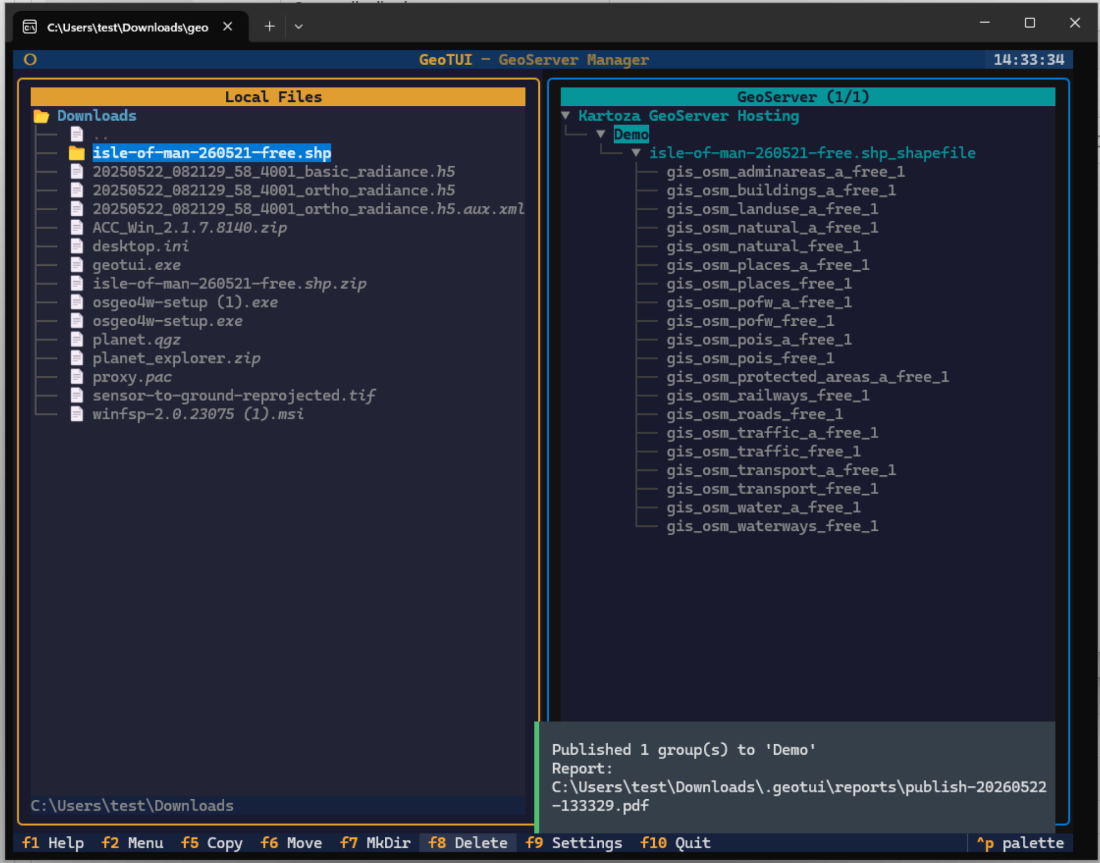
Navigate to a shapefile directory in the left pane and press F5 to publish it to your GeoServer. GeoTUI will create a datastore and publish all layers automatically, showing progress as it works:
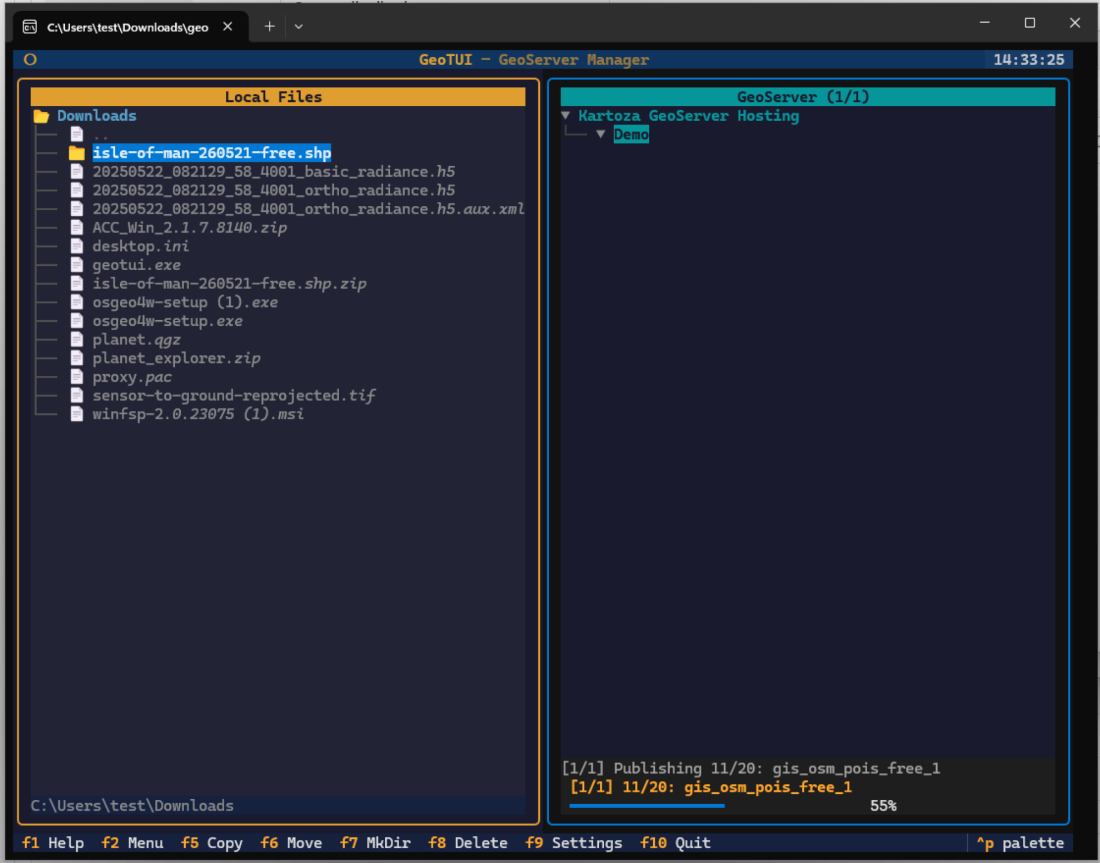
Once complete, all layers appear in the right pane under the workspace, and a PDF report is saved locally:
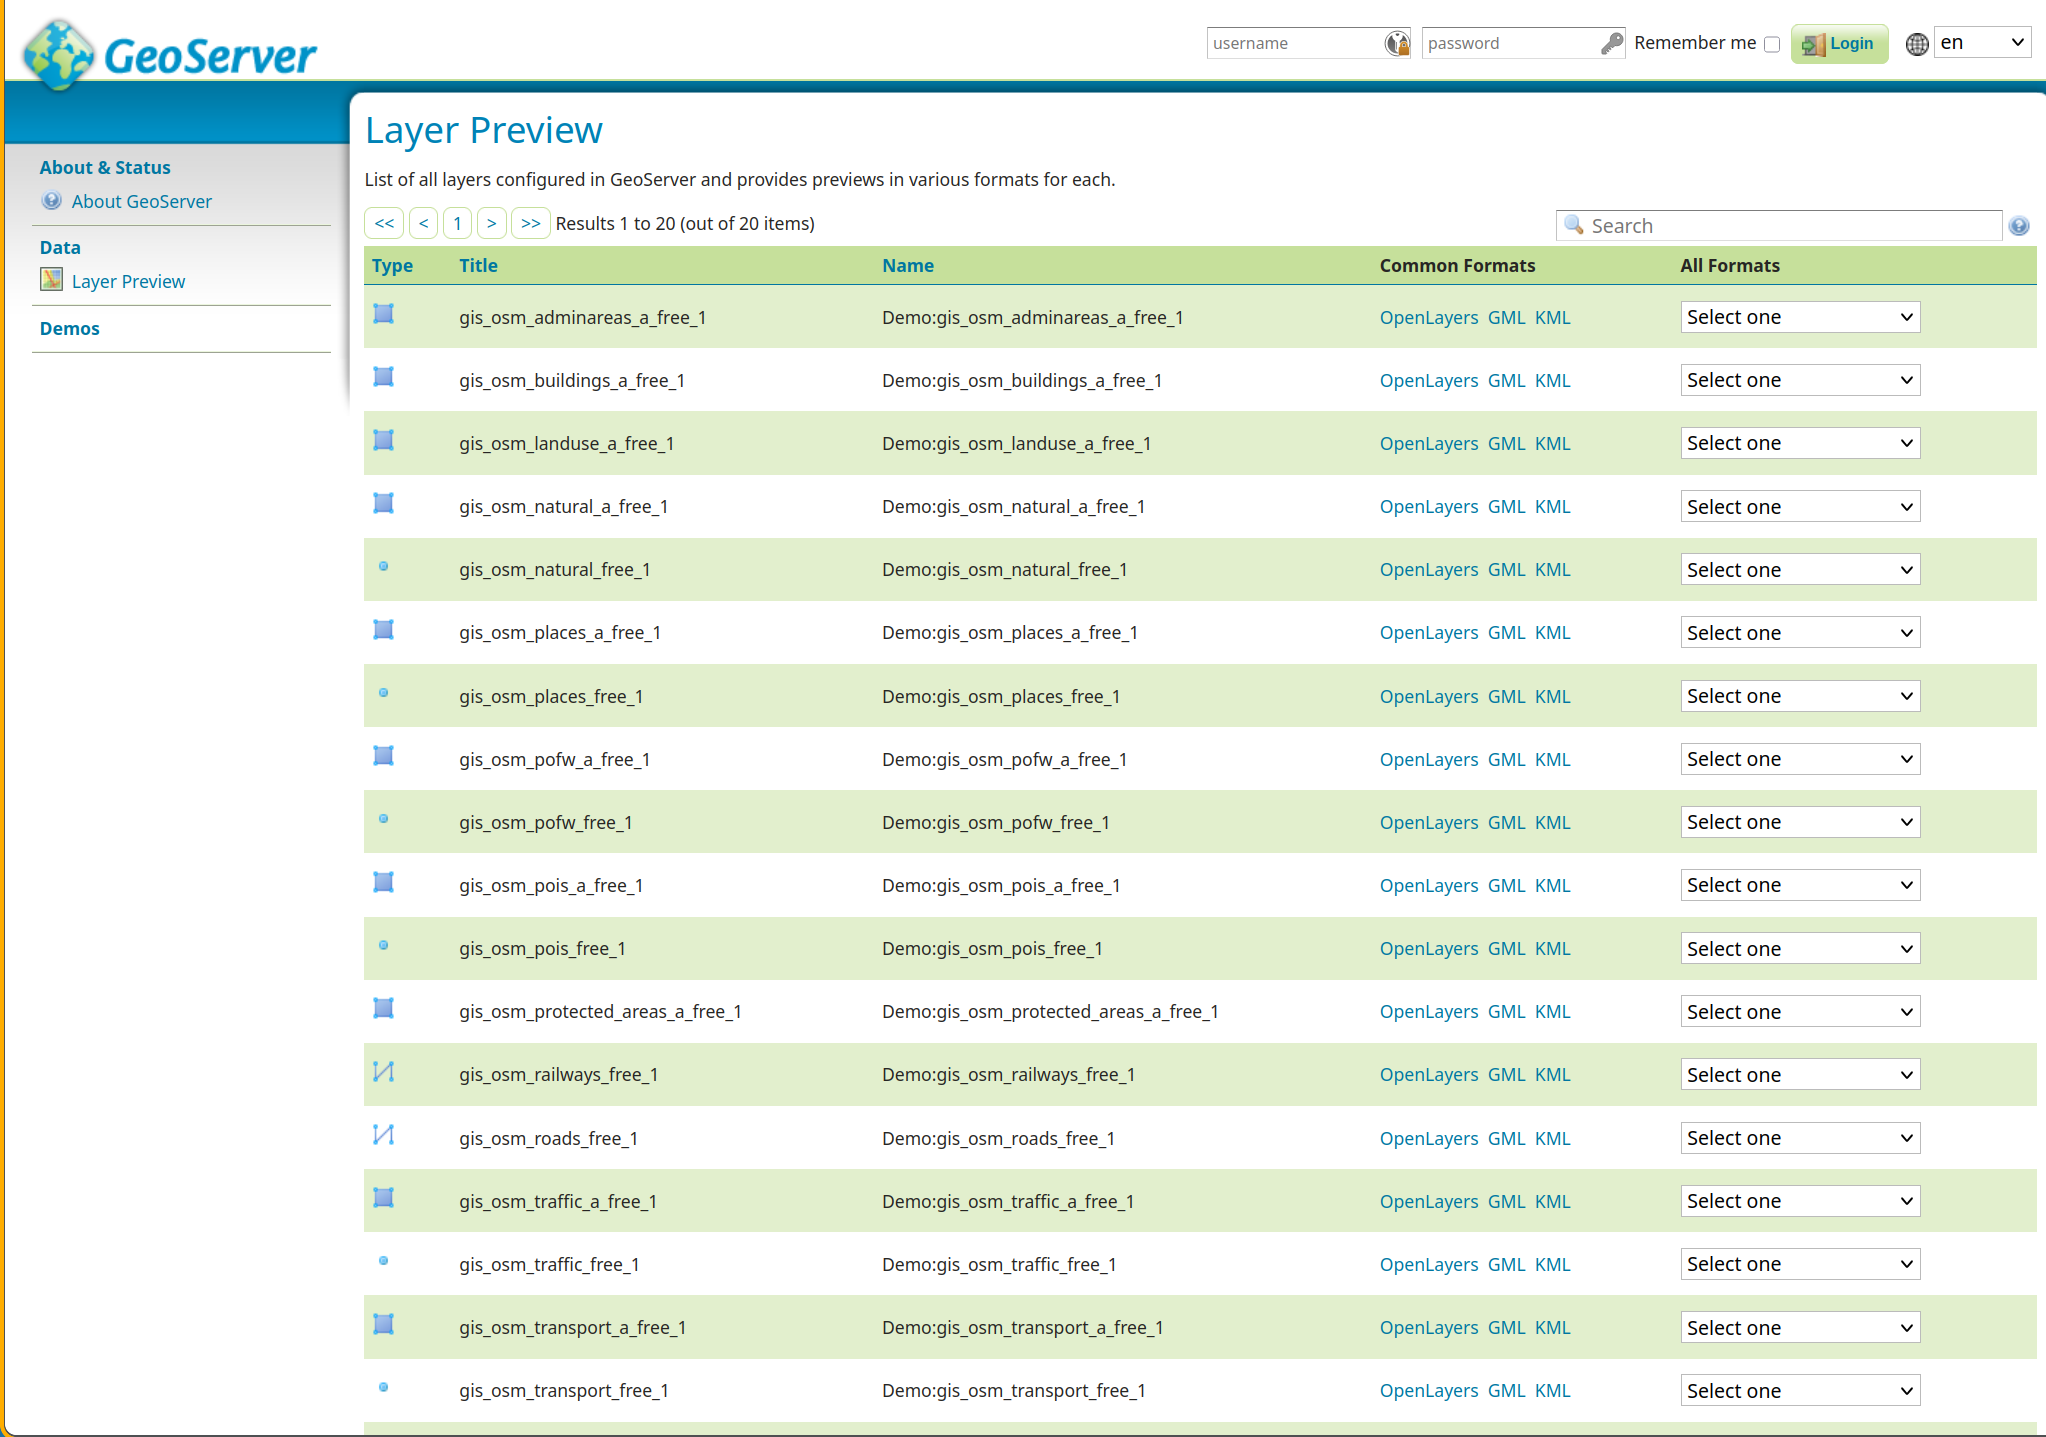
Step 10: Verify in GeoServer
Open the GeoServer web interface to confirm your layers are available. The Layer Preview page shows all published layers with preview links:
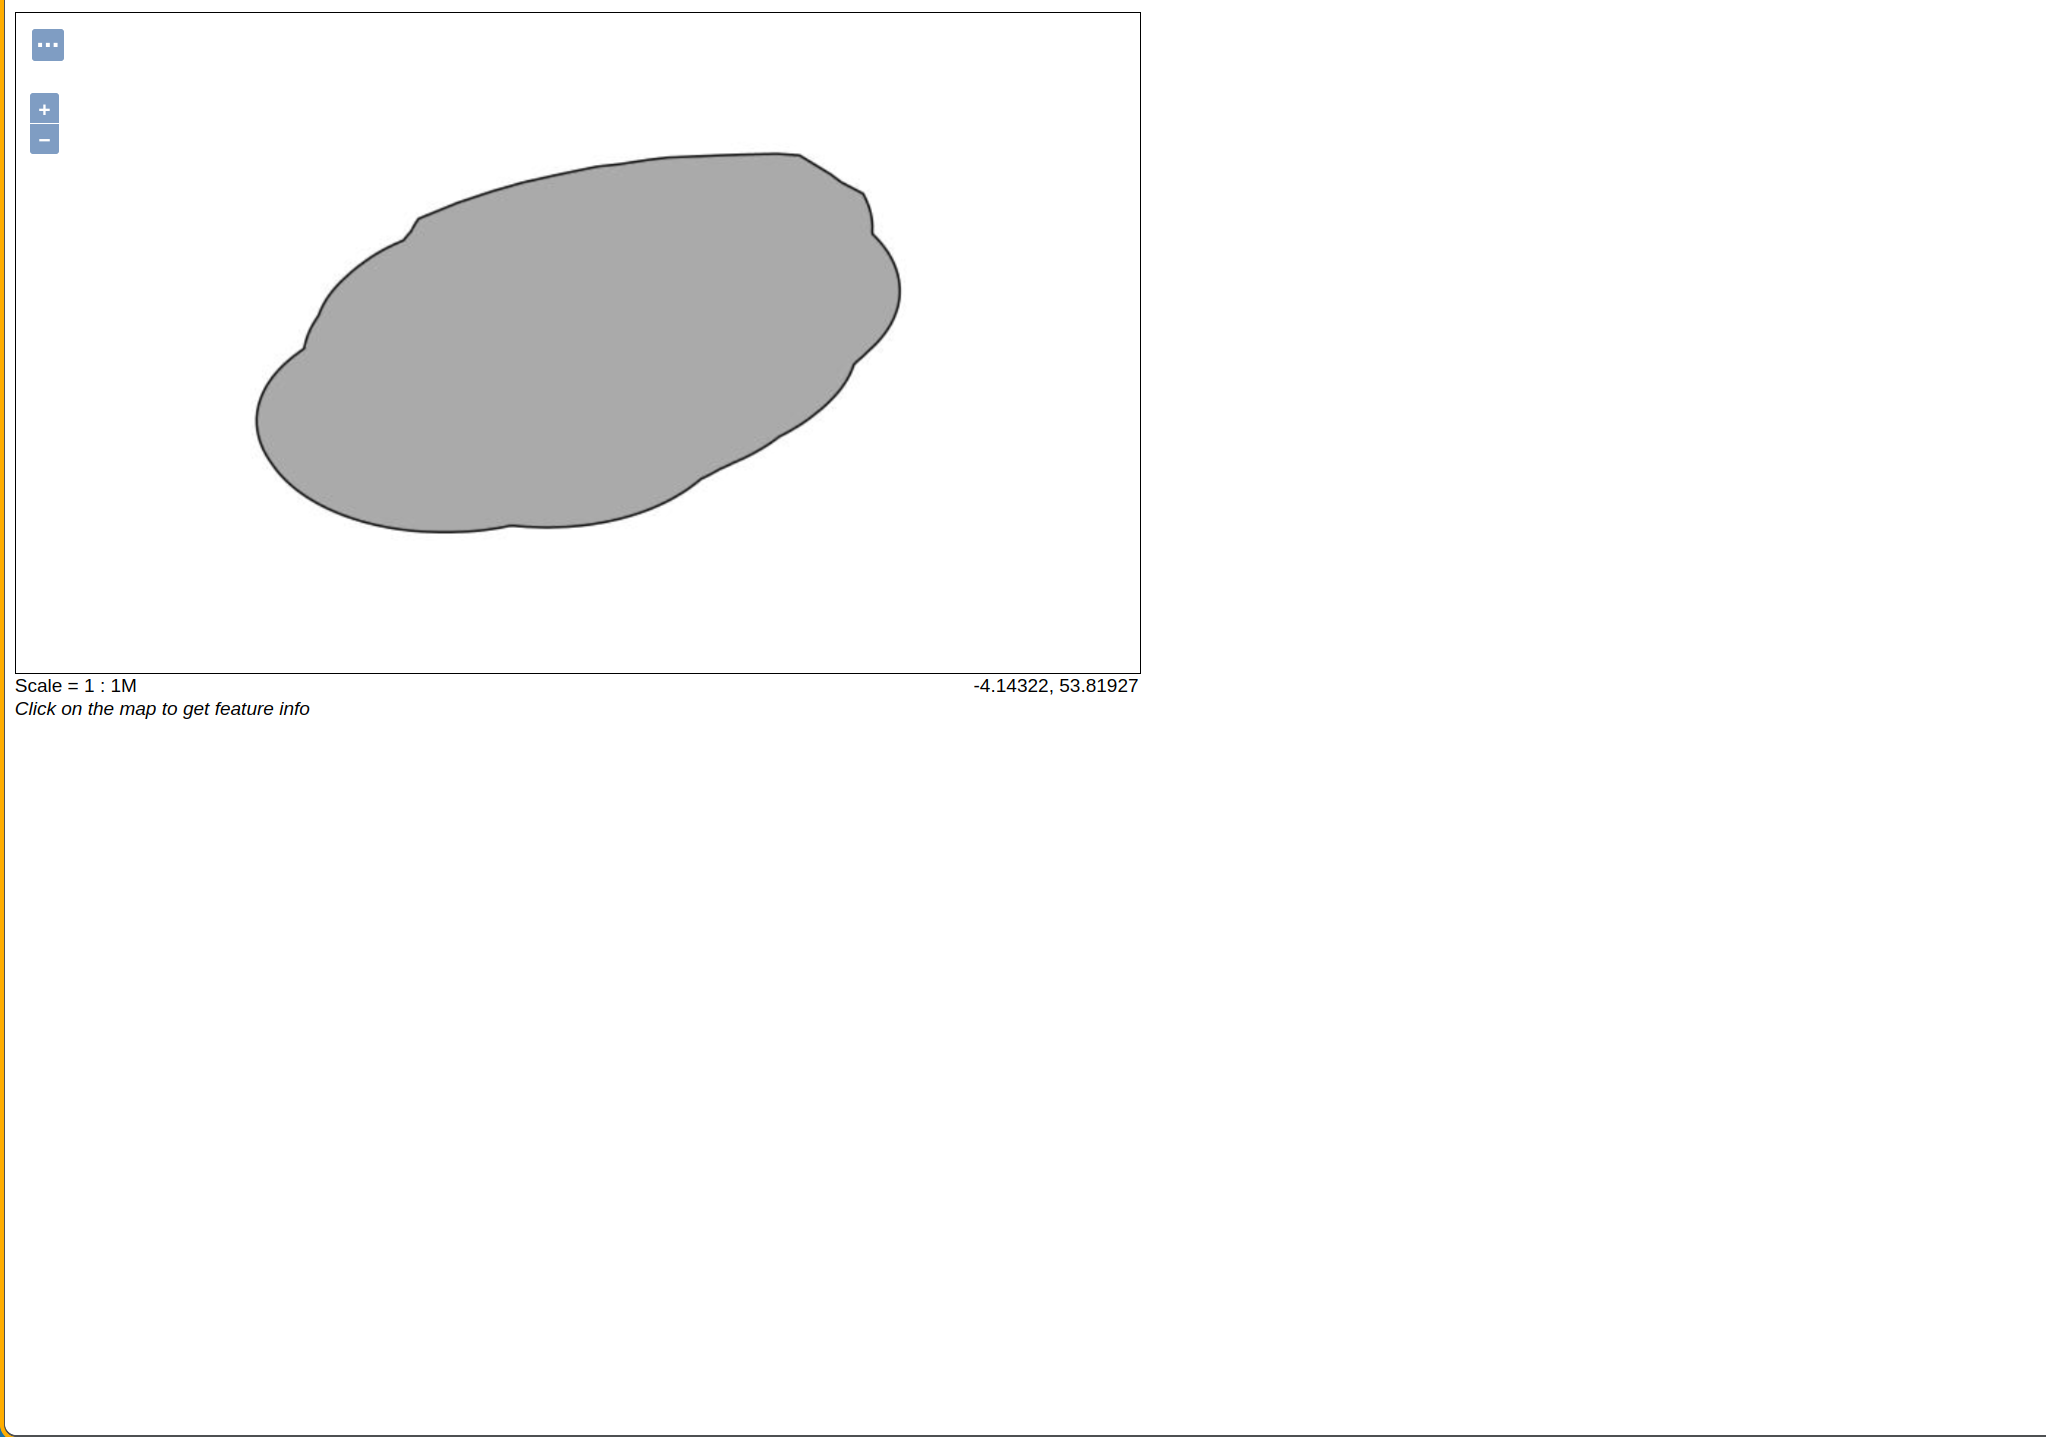
Click OpenLayers next to any layer to see it rendered on a map:
Next Steps
- Navigation Guide — learn keyboard shortcuts and file selection
- Connecting to GeoSpatialHosting — provision a hosted GeoServer instance
- Configuration — advanced settings and vault management
 by
by