Managing Users & Permissions
GeoSight provides a flexible user and access management system that allows you to control who can view, edit, and manage data across the platform.
Permissions can be assigned at multiple levels, including datasets, indicators, and projects, giving you fine-grained control over collaboration and data security.
Users & Groups
All user and permission management is handled from the Users & Groups section under Access in the Administrator Panel.
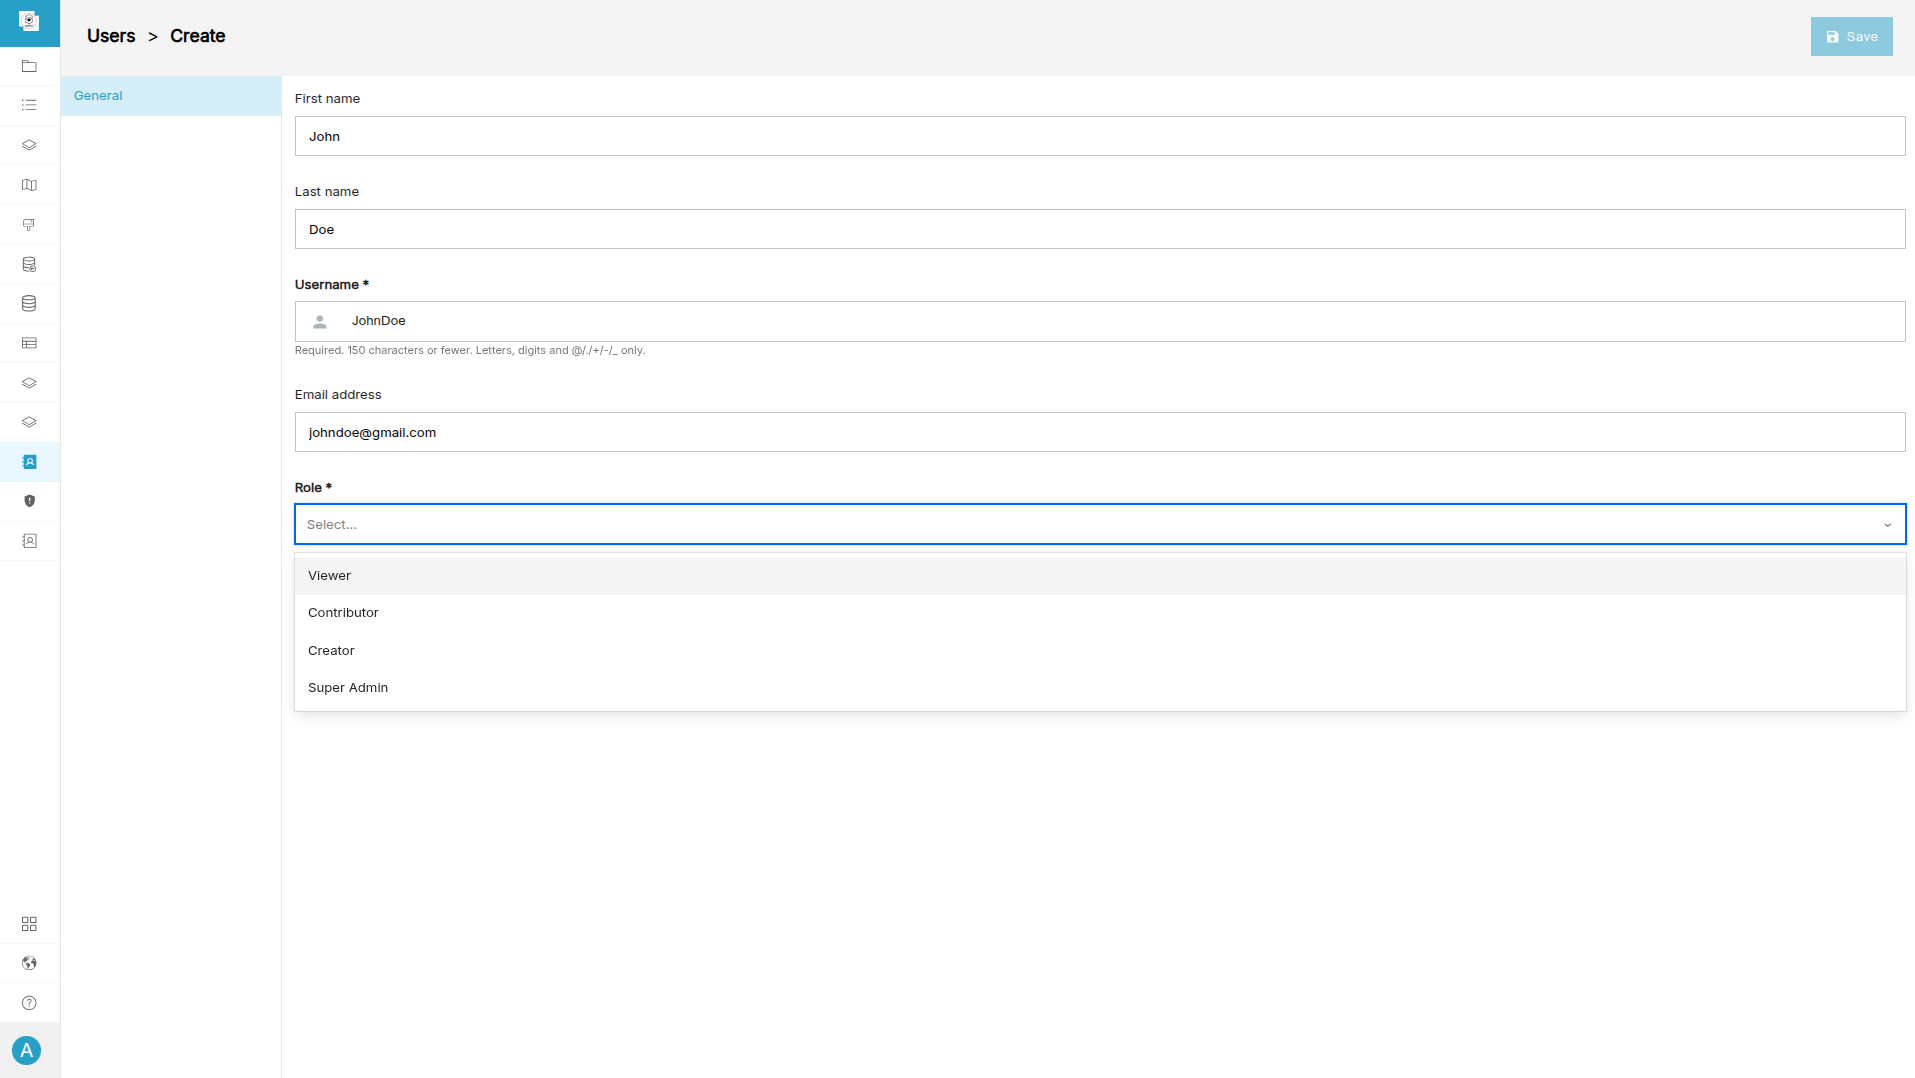
Adding Users
You can create new users directly within GeoSight and assign them the appropriate access level. To add a user:
-
Navigate to Access → Users & Groups.
-
Click Create New User.
-
Enter the required details (e.g email, credentials).
-
Assign a permission level.
-
Click Save and share the login details with the user.
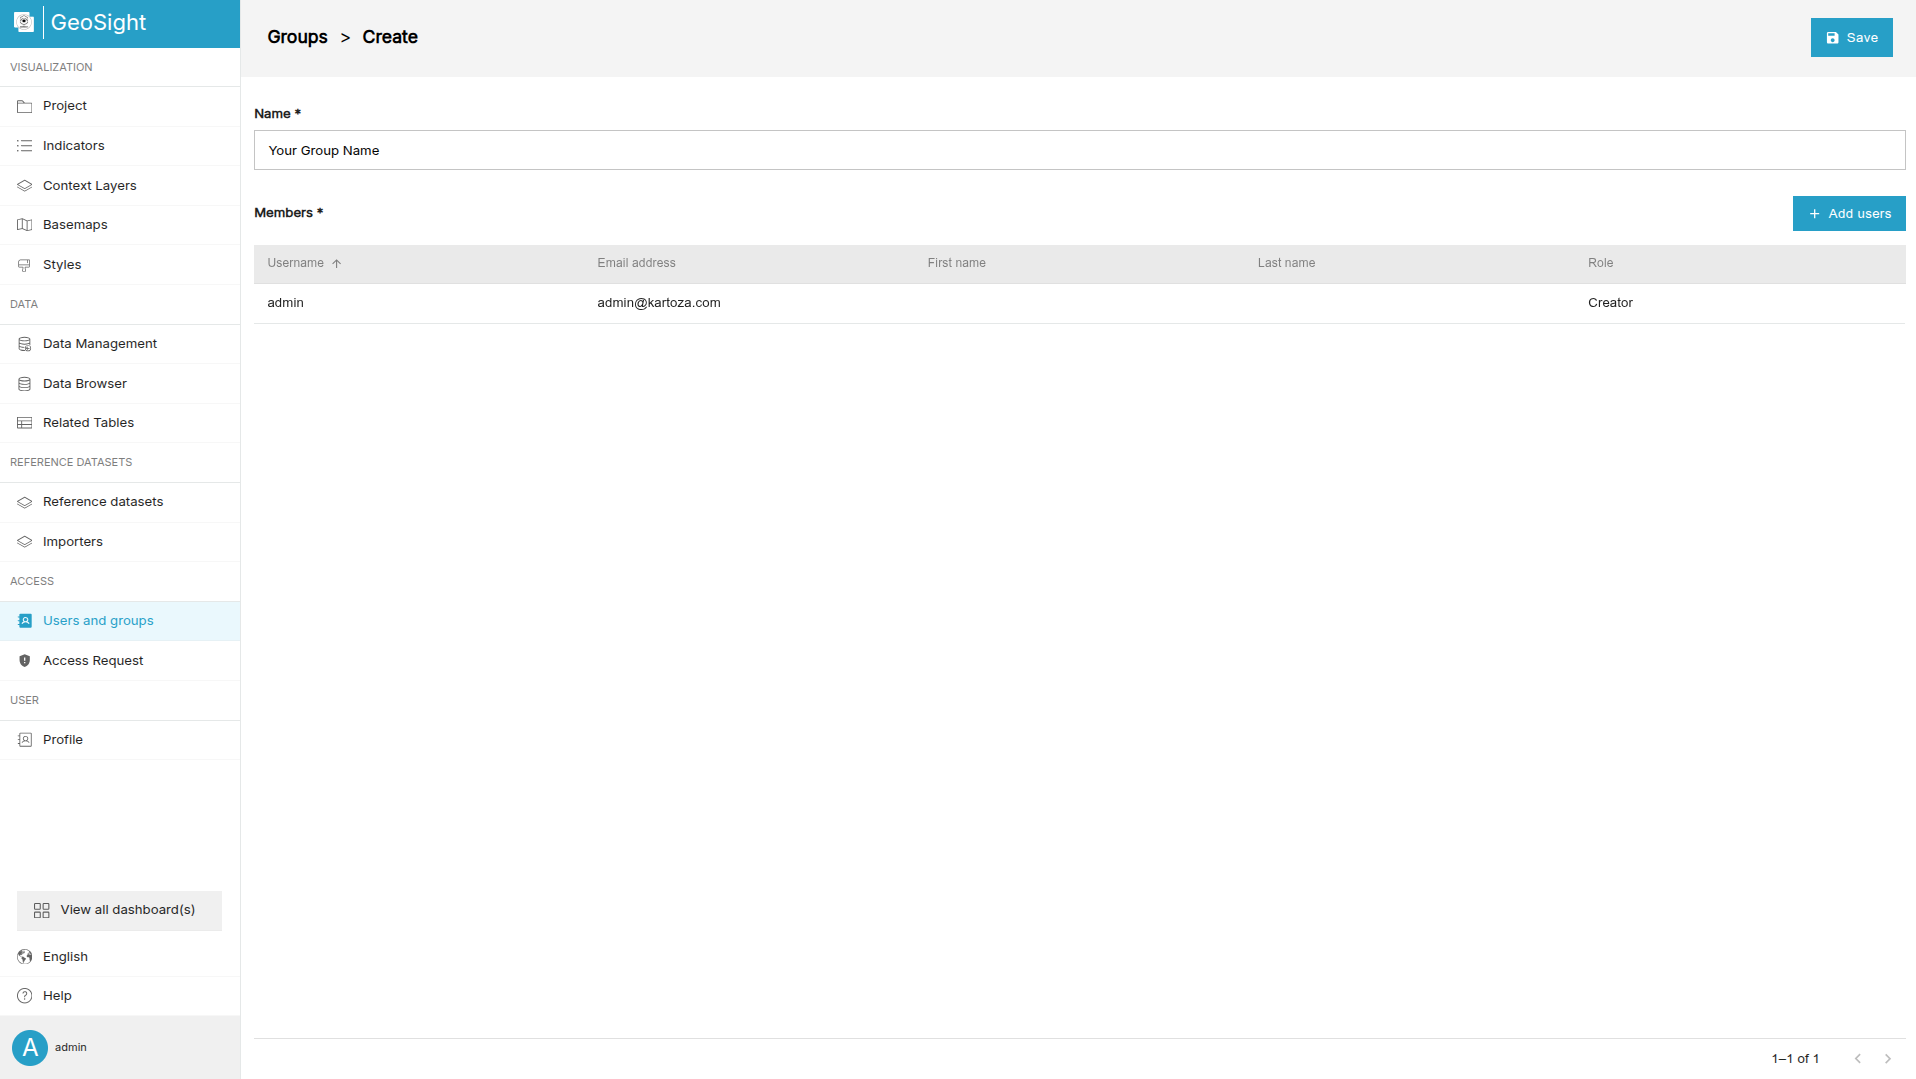
Creating Groups
Groups allow you to manage multiple users at once by assigning shared access permissions. To create a group:
-
Navigate to Users & Groups → Groups.
-
Select Create New Group.
-
Enter a group name.
-
Click Add Users.
-
Search for and select users from the list.
-
Click Update Selection, then Save.
Sharing & Access Control
GeoSight makes it easy to share datasets, indicators, and dashboards with other users. With flexible permission settings, you can control access at both the resource and project level.
Sharing Resources
GeoSight allows you to share access to specific resources, including:
- Indicators
- Context Layers
- Projects
- Styles
To share a resource:
-
Open the item and click Share.
-
Click Share to New User(s).
 Image credit: GeoSight
 -
Select the relevant users.
-
Choose a permission level:
Permission Description Read Allows users to view the resource. Write Allows users to edit and update the resource. Owner Full control, including deleting the resource. -
Apply the changes to grant access.
